From the Secure Messages screen, you can send a new message.
-
In the Secure Messages screen, tap
 . If message templates have
been created for your environment,
the New Text screen appears.
. If message templates have
been created for your environment,
the New Text screen appears.
 Note: To skip the New Text screen, tap and hold.
-
Tap the name of the message template that you want to use, or tap New Text to create a new message without a template.
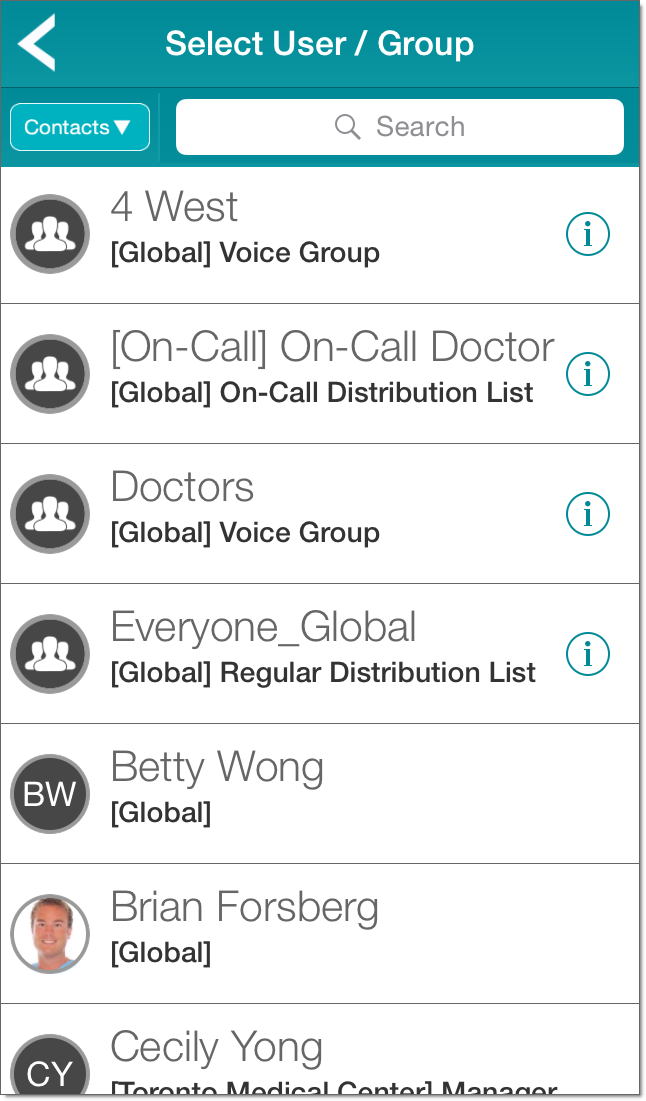
The Select User / Group screen appears.
Note: This is the screen that appears if no message templates have been created for your environment.
If you use a template, some or all of the information that you are asked to provide in the following steps may already be specified for you.
-
In the Search
 field, type the first few characters of the name of the contact
to which you want to send a message. Each
character you type performs an incremental search displaying a list of closest
matching contacts.
field, type the first few characters of the name of the contact
to which you want to send a message. Each
character you type performs an incremental search displaying a list of closest
matching contacts.
-
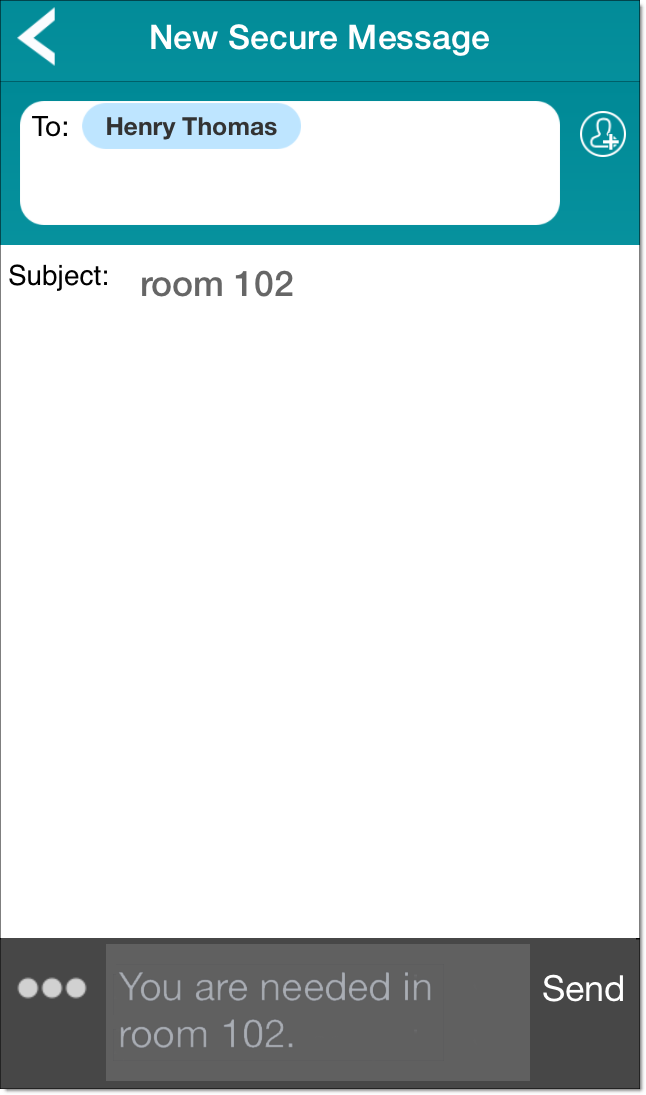
To add additional contacts, from the New Secure Message screen, tap
 .
.

You can also type the start of a contact name. A list of matching contents then appears. From this list, you can select the contact that you want to add.
-
For additional message options, tap
 .
Additional options appear:
.
Additional options appear:
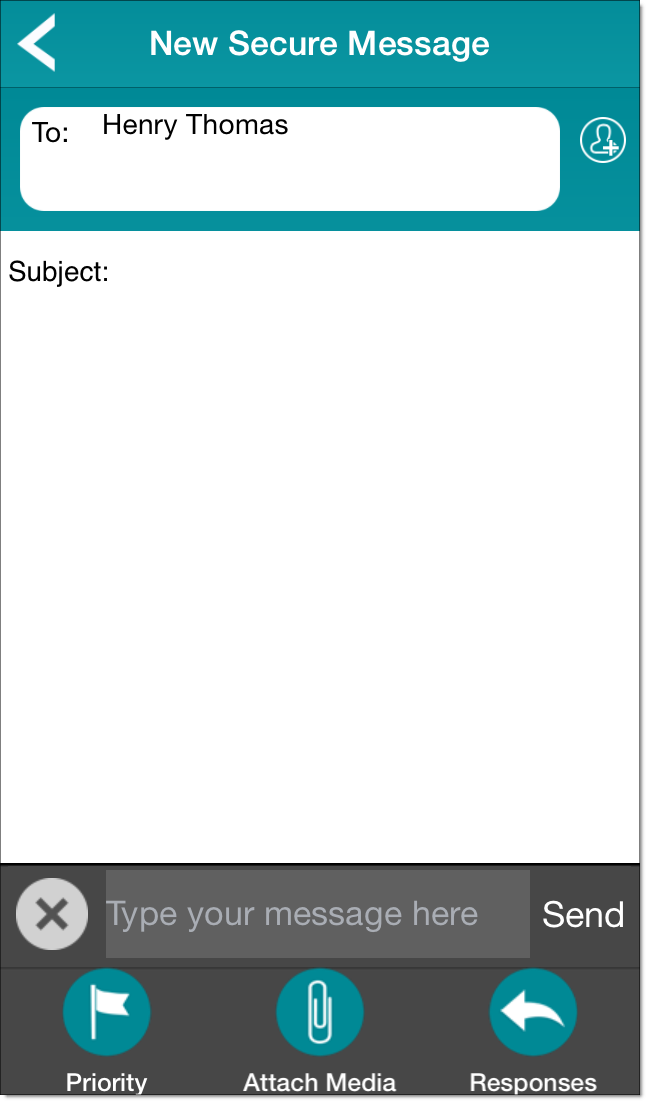
Tap
 to hide the additional options.
 -
Do one of the following:
-
To send a text message, type in the text box.
To specify a priority for your message, tap
to display the additional options, and then tap
 Priority. In the Priority screen, select one of
Normal, High, or
Urgent. The following table lists the notifications sent for
each priority:
Priority. In the Priority screen, select one of
Normal, High, or
Urgent. The following table lists the notifications sent for
each priority:Priority Notifications Normal Single ring and vibration High Multiple rings and vibrations Urgent Multiple rings (overriding the phone's volume and mute settings) and vibrations Tap Send to send the message.
Important: On some devices, messages sent with High or Urgent priority may be spoken out loud to some recipients. Sending confidential patient health information with either of these priorities may violate privacy regulations.On iOS devices, if your phone is locked and a message is received with High priority, the rings stop when you swipe your device. If a message is received with Urgent priority, the rings do not stop until you view the message.
Note: If you send a message to a badge, the badge user is automatically asked whether to respond to the message on the badge or whether to call you. -
To send a picture, tap
 Attach Media. From the menu that appears, select the attachment operation that you want to perform. The available options
are:
Attach Media. From the menu that appears, select the attachment operation that you want to perform. The available options
are:
- Select Picture
- Take Picture
Tap Cancel to cancel sending the picture.
Note: When attaching or creating a picture, the Vocera Collaboration Suite uses the photo interface provided by your device. -
To request a specific response from the recipients of your message,
tap
to display the additional options, and then tap
 Responses.
This displays a separate screen on which you can create a message that requires a response.
See Requesting a Response to a Message for more details.
Responses.
This displays a separate screen on which you can create a message that requires a response.
See Requesting a Response to a Message for more details.
-
To send a text message, type in the text box.