If you want to ensure that your message is read and understood, you can send a message that requires a response.
-
In the Secure Messages screen, tap
 .
The New Secure Text screen appears.
.
The New Secure Text screen appears.
-
Tap
 to display the additional message options.
-
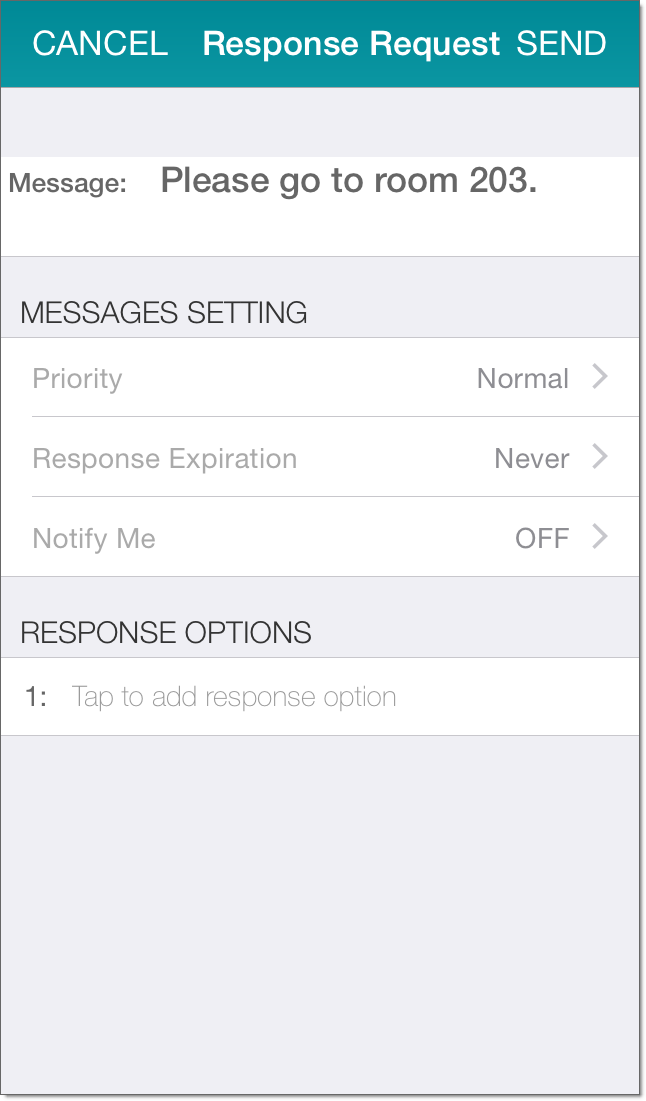
Tap
 Responses
to display the screen on which you can create a message that requires a response.
Responses
to display the screen on which you can create a message that requires a response.
-
Tap Notify Me if you want to receive a notification if you do not receive a response within a
specified time. In the Notify me screen, select Send Notification to
enable response notification. Select a time period, which can be 2, 5, or 10 minutes. You can also specify a custom time period.
If the message is not responded to during this time period, a notification banner is displayed:
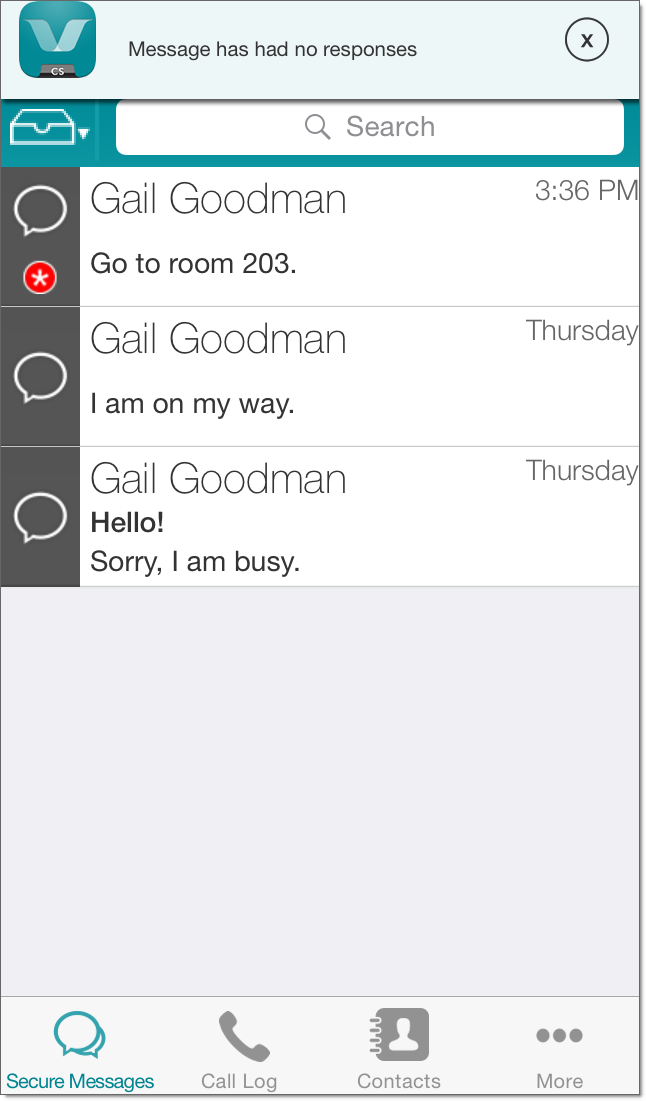
In addition, a
 icon is displayed in the
message link in the Secure Messages screen. Tap
icon is displayed in the
message link in the Secure Messages screen. Tap
 to hide the notification.
 -
Tap in the Response Options section to add a response option, and then type the text of the
response option. Repeat until all of the response options that you want to specify have been added. To remove a response
option that you have added, tap
 .
.
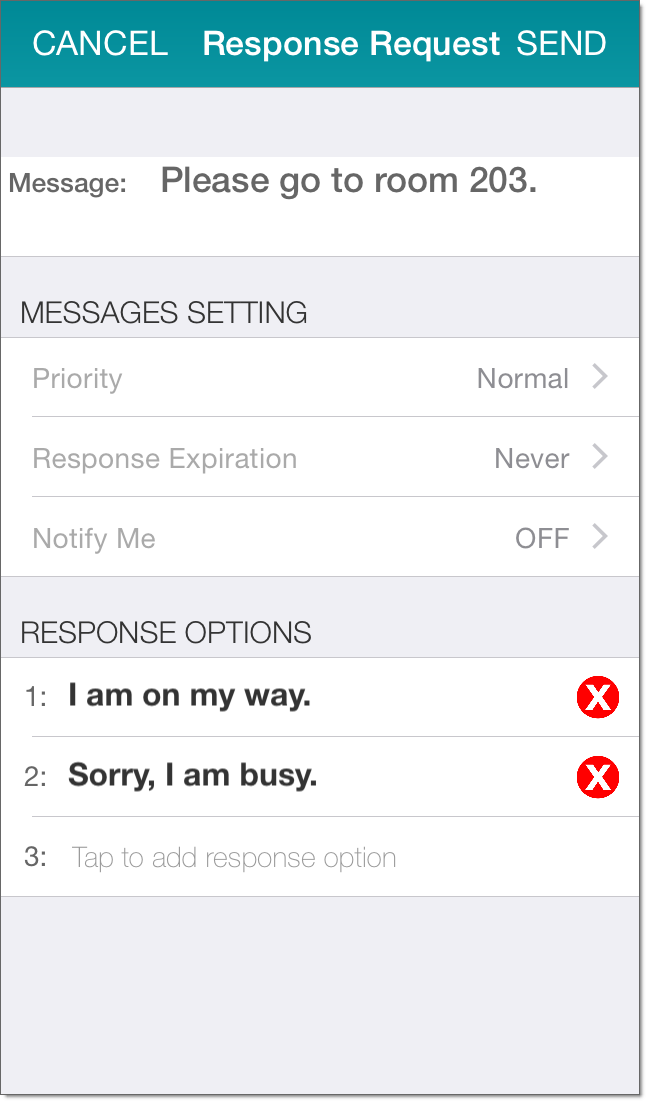 Note: If you are sending a message to a Vocera badge, response options can be a maximum of 15 characters.