How to Configure Database Purge Settings

Configure purge settings when you add or edit an HL7 connection.

Use the following steps to specify database purge settings for an HL7 connection:
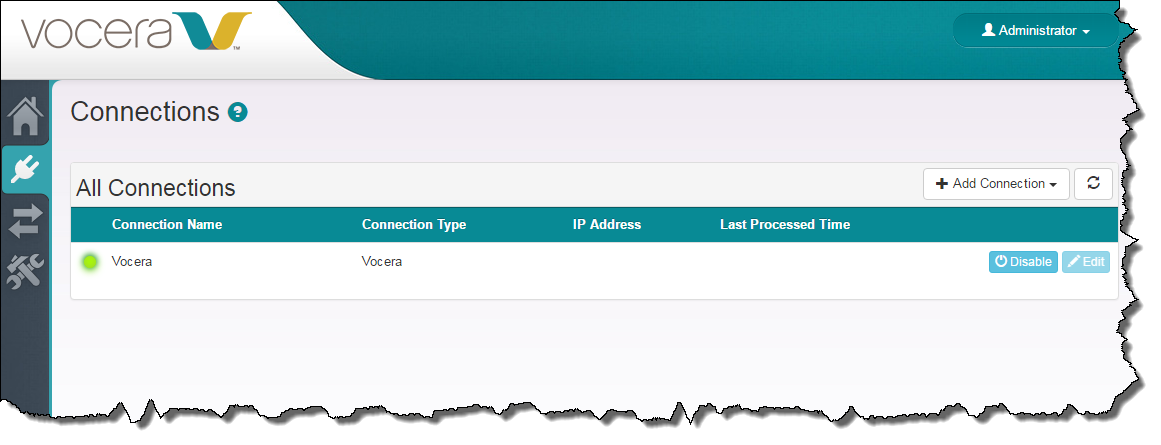
  1. In the CTS Console, click the Connections icon (  ) in the navigation bar on the left.

    The Connections screen appears.

  2. Do either of the following:
    • If you are updating an existing HL7 connection, edit it and set the Patient Data Expires After and Data Expiration Check Interval properties.

      See How to Update an HL7 Connection.

    • If you are creating a new HL7 connection, add it and set the Patient Data Expires After and Data Expiration Check Interval properties.

      See How to Add an HL7 Connection.

  3. Restart the Vocera CTS service.

    Open the Windows Services Control Panel, navigate to the Vocera CTS service, right-click it, and choose Restart.

    The system reads the connection parameters and related information into memory, and any changes that you have made take effect.