Email configuration allows the CTS to send alert messages to any email address, notifying you when a connection has failed. You can choose whether to receive an alert a single time only, or configure the frequency with which you receive the alert messages.
Use the following steps to configure the email integration:
-
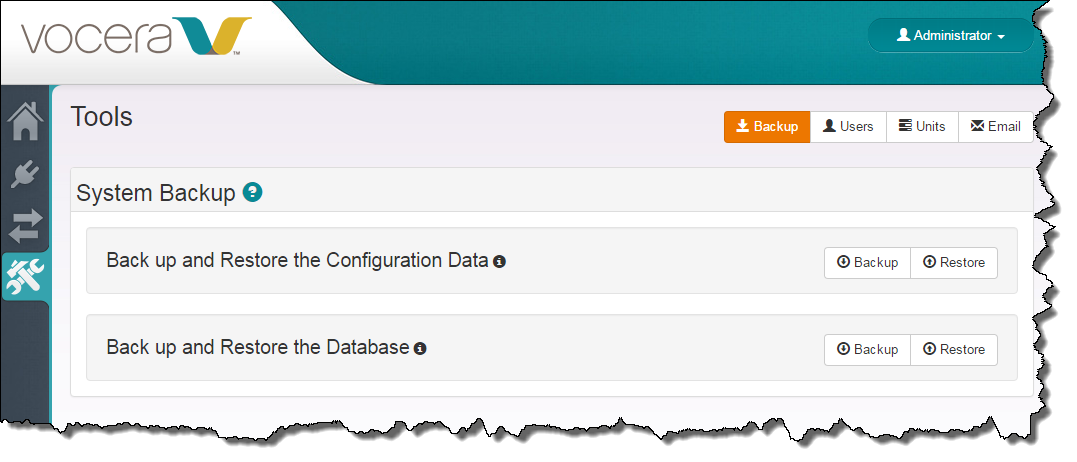
In the CTS Console,
click the Tools icon
(
 )
in the navigation bar on the left.
)
in the navigation bar on the left.
The Tools page appears.
-
Click the Email button on the top right of the page.
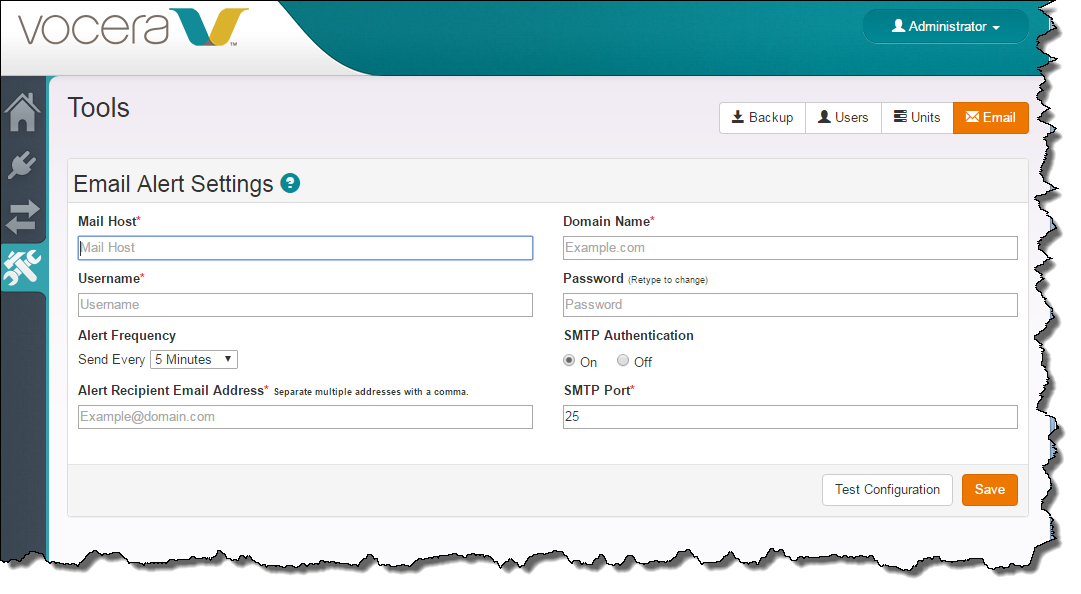
The Email Alert Settings page appears.
-
Enter the email integration parameters that allow
CTS to communicate
with your mail server as follows:
Field Description Mail Host Enter the name of the POP or IMAP server used for outgoing mail in the Mail Host field. For example: mail.yourcompany.com.
Domain Name In the Domain Name field, specify the domain name used in email addresses at your site. CTS uses this value to complete any email addresses in the Username or Alert Recipient Email Address field that do not have a domain name.
Username Enter the user name or address used to login to the outgoing mail server in the Username field.
Password In the Password field, enter the password that provides the account permissions to send email on behalf of CTS.
Alert Frequency In the Alert Frequency field, use the list to set the interval at which email alerts are sent. CTS continues to send alerts until the connection is restored.
SMTP Authentication Check SMTP Authentication if your mail server requires its subscribers to provide authentication when sending an email message.
Alert Recipient Email Address In the Alert Recipient Email Address field, enter an email address to receive alert messages that the CTS issues. Separate multiple addresses with a comma.
If this field is empty, you won't get any alerts.
SMTP Port If SMTP Authentication is checked, specify the port that is used for the authentication request.
- Click Save to save your configuration settings to the database.
-
Click Test Configuration to send a test message to the specified default alert recipient.
If the configuration is successful, you receive an email at the Alert Recipient Email Address account. If the configuration is not correct, the screen displays the error message, "Oops! Unable to send test email".