Use the steps in this topic to install the Vocera Secure Texting Sync Connector software on a stand-alone (non-clustered) Vocera Voice Server.
The Vocera Secure Texting Sync Connector installer requires Windows .Net Framework version 4.7.1. It will not install in environments with earlier versions of the .Net Framework. If necessary, download the .Net Framework from Microsoft and install it before you begin. Make sure you do not also install IIS, which will interfere with Apache on the Vocera Voice Server machine.
To install the Vocera Secure Texting Sync Connector:
-
Click Next in the Welcome dialog box.
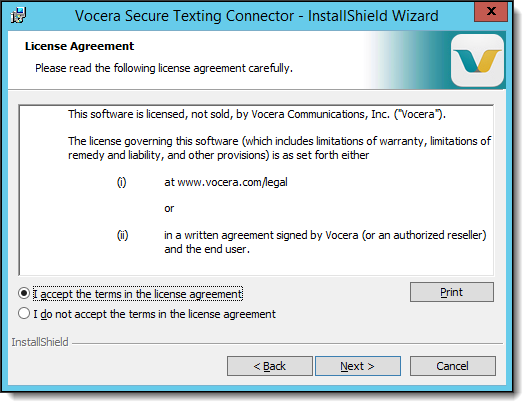
 The License Agreement dialog box appears.
 -
In the License Agreement dialog box, select I accept the terms in the
license agreement and click Next.
- If you have a VS-VMP the Ready to Install the Program dialog box appears. Continue with Step 7.
- If you have a VS system without a VMP, the Configuration dialog box appears. Continue with the next step.
-
Specify your credentials in the Configuration dialog box as follows,
and then click Next. If you are upgrading the connector
from a previous installation, the credentials are cached for you.
Field Description Organization Service User Enter the Integration User ID from the Vocera Secure Texting Administration Console. Secret Key Enter the Shared Key from the Vocera Secure Texting Administration Console. 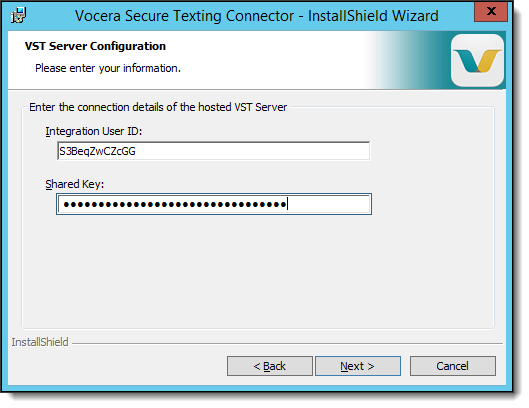 Note: If your computer is running internet protection software, you may need to trust the URLs that are used to validate credentials.
The Ready to Install the Program dialog box appears.
-
Click Install.

The Installer stops any necessary services on the Vocera Voice Server, begins installing the Vocera Secure Texting Sync Connector, and displays a progress bar to indicate the status. The VS Administration Console, User Console, and Staff Assignment Console are not available while the services are stopped and restarted, but there is no impact to voice traffic.
The Installer restarts these stopped services when the installation is complete.
-
When the installation is complete, click Finish.
 The Vocera Secure Texting Sync Connector is installed.
After you have completed the installation, the results vary depending on your environment:
-
If you have installed VSTSetup-VS-Only.exe (that is, your on-premises environment has a Vocera Voice Server without a Vocera Messaging Platform server):
- The Vocera Secure Texting Sync Connector service is running.
- The Vocera Sync Adapter Status on the Integrations page of the Vocera Secure Texting Administration Console is set to Connected.
- The vst.war file is installed in the \vocera\tomcat\webapps directory.
-
If you have installed VSTSetup-VS-VMP.exe (that is, your on-premises environment has both a Vocera Voice Server and also a Vocera Messaging Platform server):
- The vst.war file is installed in the \vocera\tomcat\webapps directory.
In addition, one of the following situations occurs:
- If the database of the Vocera Voice Server contains data, the groups VSTContacts and VSTUsers are created in the Global site of the Vocera Voice Server.
- If the database of the Vocera Voice Server is empty, the groups VSTContacts and VSTUsers are created as soon as you create a user or a group in the Vocera Voice Server.