The Vocera QoS Manager installation program automatically installs and enables the Vocera QoS Manager service on the Vocera Voice Server, the Vocera SIP Telephony Gateway, and the Vocera Client Gateway during the application install.
When the Vocera QoS Manager service is running, each Vocera voice packet that
originate from the Vocera Server is tagged with DSCP Expedited Forwarding (EF). On the
network side, switches and routers must be configured to accept DSCP markings.
To confirm that the Vocera QoS Manager is installed and enabled on a Windows Server 2012 machine:
-
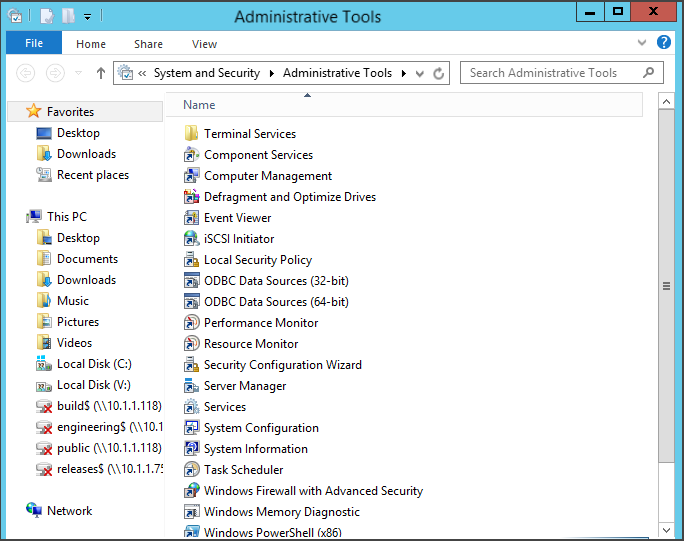
Select Administrative Tools from the Windows
Start menu.
The Administrative Tools window appears.
-
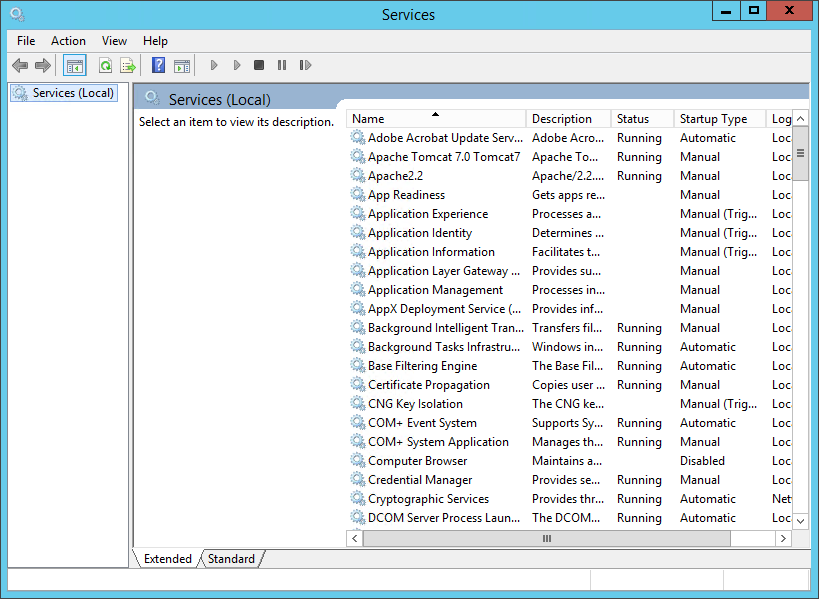
Double-click the Services shortcut.
The Services window displays the list of installed Windows services.
-
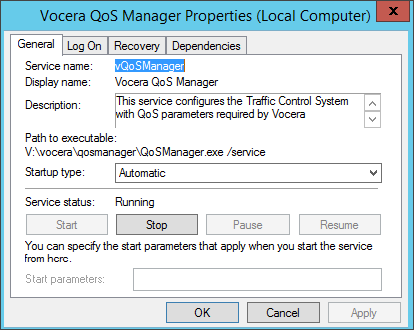
Scroll to Vocera QoS Manager, right-click and choose
Properties.
The Vocera QoS Manager Properties (Local Computer) dialog box opens. By default, the General pane is visible.