Running the Badge Configuration Utility

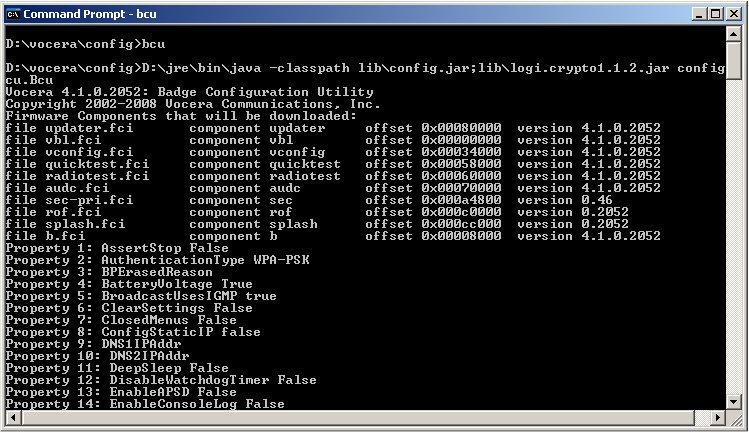
  1. From the Windows Start menu on the configuration computer, choose Programs > Vocera > Badge Utilities > Badge Configuration Utility.

    The Badge Configuration Utility opens in a command window.

    Figure 1. Badge Configuration Utility start-up Badge Configuration Utility start-up
  2. Attach a charged battery to either a new badge or a badge that has been reset to factory defaults.

    The badge automatically runs its Updater program because the InstallDone property is set to False. Updater looks for a Badge Configuration Utility running on 10.0.0.1 and connects to it.

  3. The Badge Configuration Utility displays the start session message, and then the badge automatically starts the download process.
  4. The Badge Configuration Utility continues to display messages as the badge downloads firmware and properties. When the download is complete, the Badge Configuration Utility displays the message end session.
  5. The badge automatically reboots and tries to connect to the network, using the SSID and other network properties that it downloaded.

    If successful, the badge tries to connect to the Vocera Voice Server that was specified in the ServerIPAddr property.

  6. Look at the screen of the badge:
    • The message “Logged Out” indicates that the badge is configured properly and has connected to the Vocera Voice Server.

      Continue with Configuring the Remaining Badges.

    • If the badge does not display “Logged Out” within 30 seconds to one minute, the badge is not configured properly and did not connect to the Vocera Voice Server. Continue with Troubleshooting Badge Configuration

  7. Shut down the Badge Configuration Utility. On the configuration computer, click the close icon in the upper-right corner of the command window in which the Badge Configuration Utility is running.
    The Badge Configuration Utility session ends, and the command window closes.