The Departments page lets you maintain all your department and subdepartment groups together.
The Departments screen lets you see a list of all the groups you have designated as departments and subdepartments, add existing groups to the department list, and remove groups from the department list.
You can also specify whether an individual group is a department or subdepartment when you add it or edit it, as described in Adding or Editing a Group.
To add departments:
To choose subdepartments:
-
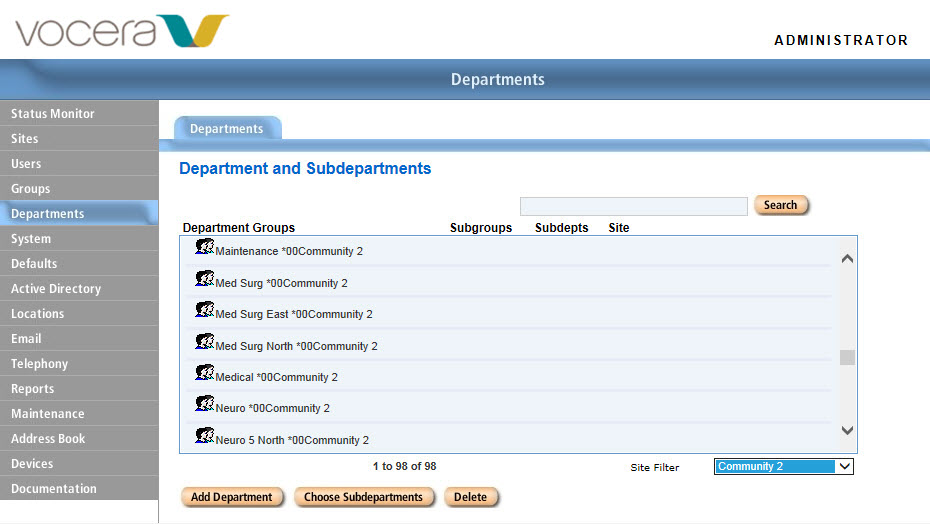
Click Departments in the navigation bar to display the Departments page.
The Department Groups box lists any groups you are already using as departments or subdepartments.
-
Choose a group in the Department Groups list, and then click Choose Subdepartments to display the Choose Subdepartments dialog box.
-
In the Subgroups list, select any groups that you want to make subdepartments, and then click >> to move them into the Subdepartments list.
Note: You cannot use the Departments page to add members to a group. To add members to a group, edit the group on the Groups page. -
In the Subdepartments list, select any groups that you want to make subgroups, and then click << to move them into the Subgroups list.
-
Click Save to save the settings and close the Choose Subdepartments dialog box.
To remove a department or subdepartment:
-
Click Departments in the navigation bar to display the Departments page.
The Department Groups box lists any groups you are already using as departments or subdepartments.
-
Choose a department in the Department Groups list, and then click Delete.
-
You are prompted whether it is OK to remove the department or subdepartment. Click OK.
The group is removed from the Department Groups list. However, the groups is NOT removed from the Vocera system. Instead, its Group Type has been changed from Department or Subdepartment to Ordinary, making it an ordinary group.