When you create a Messaging Template, you can specify the list of users, the message subject, text, and priority, and an optional conversation expiration time. You can also supply a list of multiple choice responses for recipients to choose from.
-
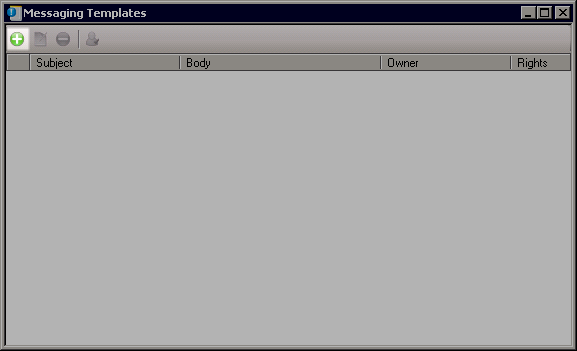
Open the VMP Administrator and select Messaging >
Messaging Templates.

-
Click New.
-
Click to highlight each user or Distribution List that will receive a message when
the template is used. Click > to add users and
Distribution Lists to the list of recipients, or click < to remove them.
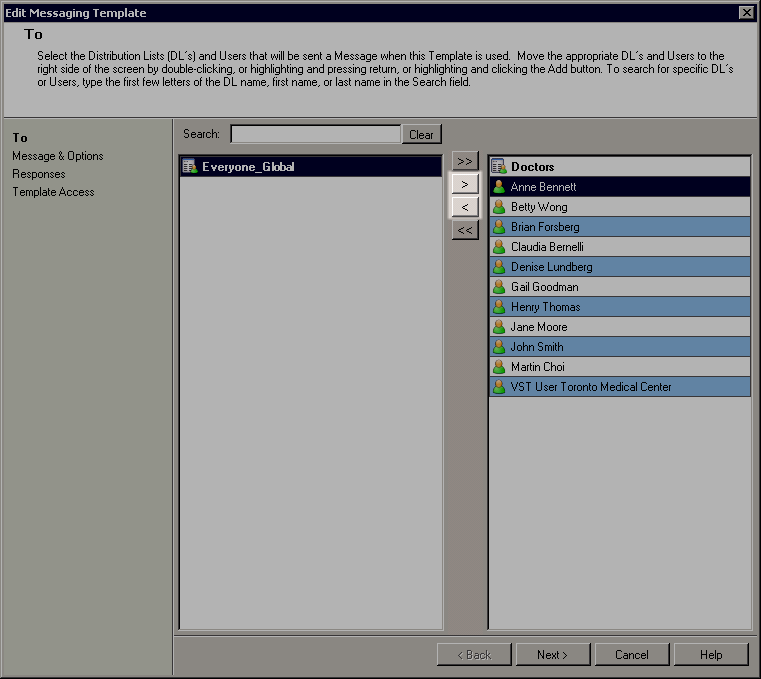
When you have finished adding users and Distribution Lists, click Next.
Note: The list of recipients can include only one Escalation Distribution List. -
If you selected Multiple Choice Responses, click
Next to provide the response options.
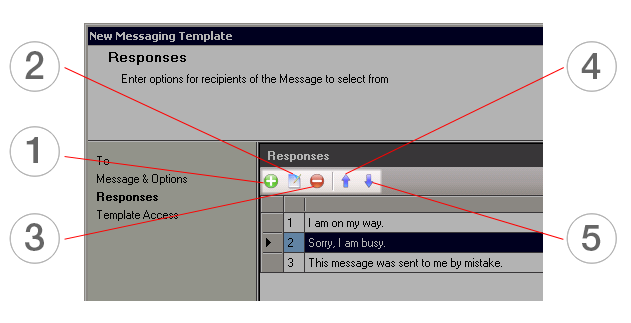

Click Add to add a response. Type the text of the response in the dialog box provided, and click OK.

Click Edit to edit a response that you have created.

Click Delete to delete a response that you have created.

To rearrange the responses, click a response to highlight it. Click Move Up to move the response up in the list.

Click Move Down to move the response down. Repeat Move Up and Move Down until the responses are in the order that you want.
Click Next when you have finished creating message options.
-
Click to highlight each user or group that can use the template, and click
>.
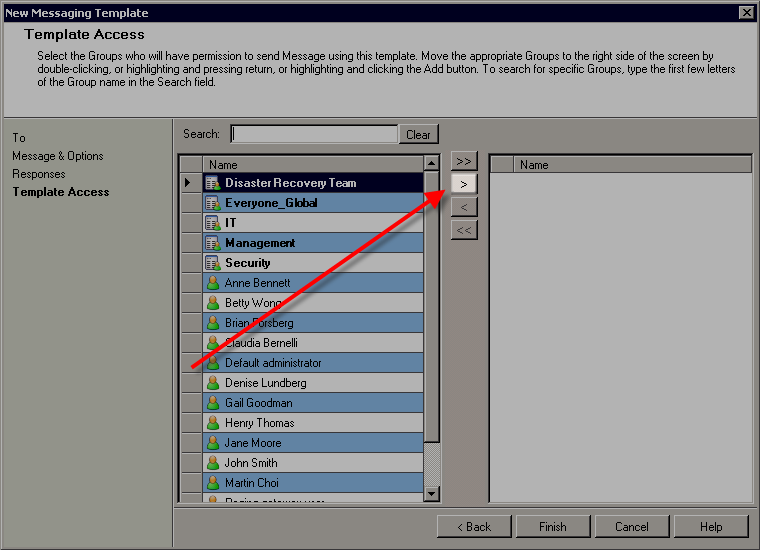
When you have finished adding groups, click Finish.