When you create a unit, you specify a Vocera Voice Server site name, define a CTS unit name, and provide a template and normalizers that filter role-and-location based group names from the VS and output normalized roles and locations.
To add a unit:
-
In the CTS Console,
click the Tools icon
(
 )
in the navigation bar on the left.
)
in the navigation bar on the left.
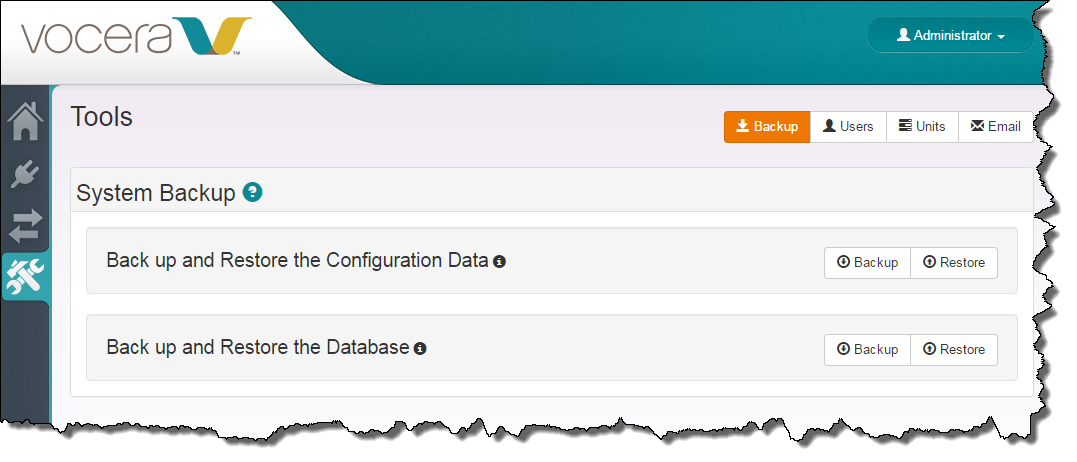
The Tools page appears.
-
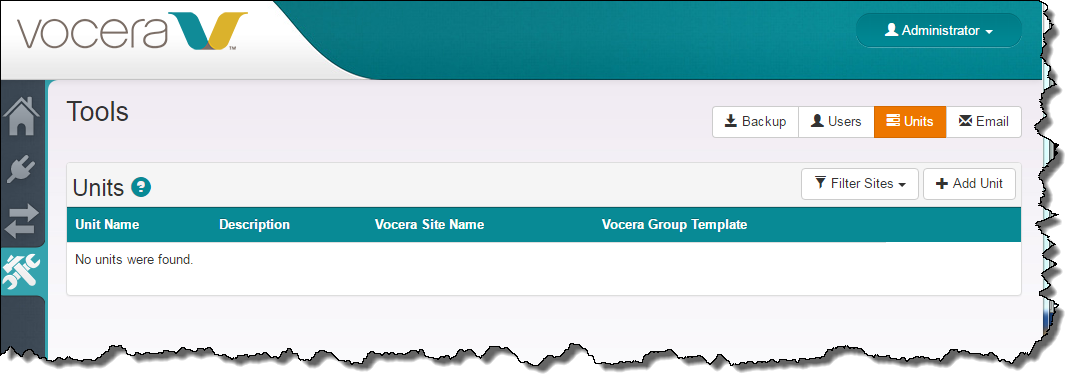
Click the Units button on the top right of the page.
The Units page appears.
-
Click the Add Unit button.
The Add Unit dialog box appears.
-
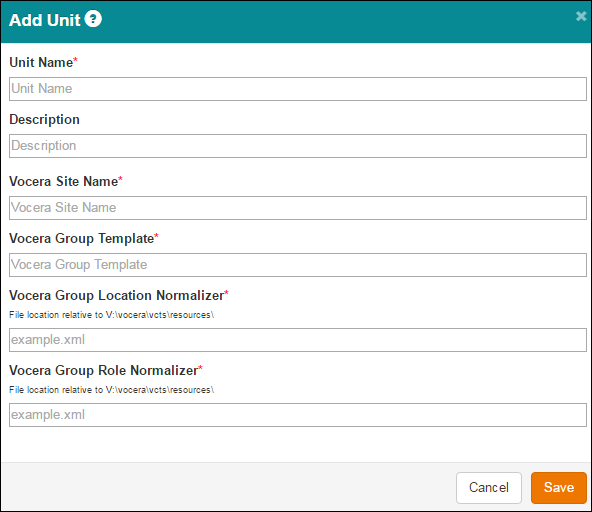
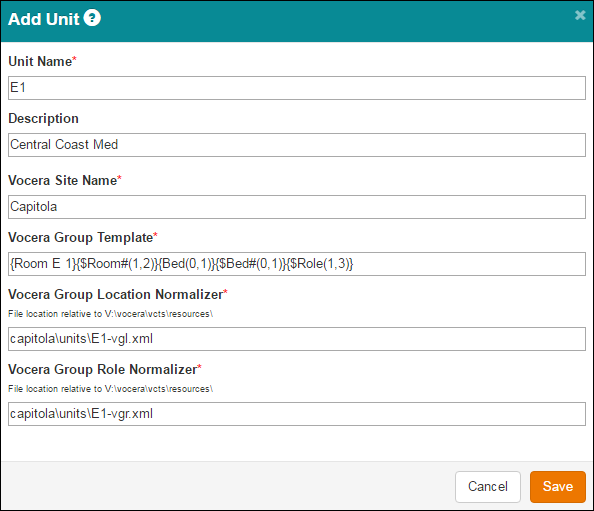
Specify the unit definition in the Add Unit dialog box as follows:
Field Description Unit Name Specify the name of the unit you are defining.
Description Optionally enter an additional description of the unit for your own information. This description is for your own reference only.
Vocera Site Name Specify the name of the Vocera Voice Server site that contains the role-and-location based groups comprising this unit. Use the exact spelling that the VS uses so the unit is associated with the proper Vocera site.
Vocera Group Template Provide a template to pre-filter groups from the Vocera Voice Server. The role and location normalizers use the group names that the template allows as input; these normalizers output the normalized roles and locations that populate the role and location tables in the CTS database.
Vocera Group Location Normalizer The Vocera Group Location Normalizer parses role-and-location based group names from the Vocera Voice Server and outputs normalized locations. These locations are maintained in the CTS locations table, and they are not visible in the CTS user interface.
Enter the location of the normalizer relative to the \vocera\vcts\resources\ path on the CTS machine. You may optionally create a directory structure under resources to provide separate directories for the normalizers used by different sites.
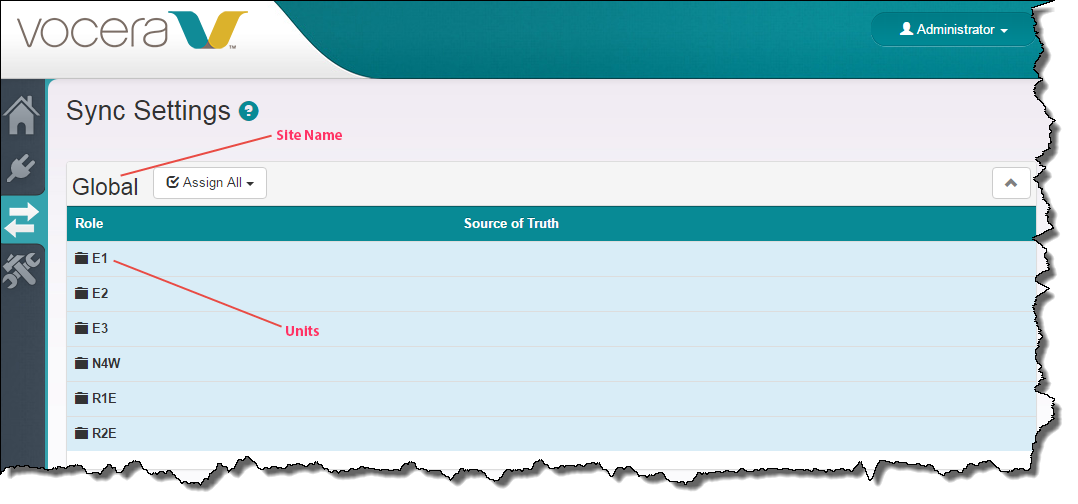
Vocera Group Role Normalizer The Vocera Group Role Normalizer parses role-and-location based group names from the Vocera Voice Server and outputs normalized roles. These roles are maintained in the CTS roles table, and they also appear as the site/unit/role combinations on the Sync Settings page.
Enter the location of the normalizer relative to the \vocera\vcts\resources\ path on the CTS machine. You may optionally create a directory structure under resources to provide separate directories for the normalizers used by different sites.
When you are finished, the dialog box should look similar to the following:
-
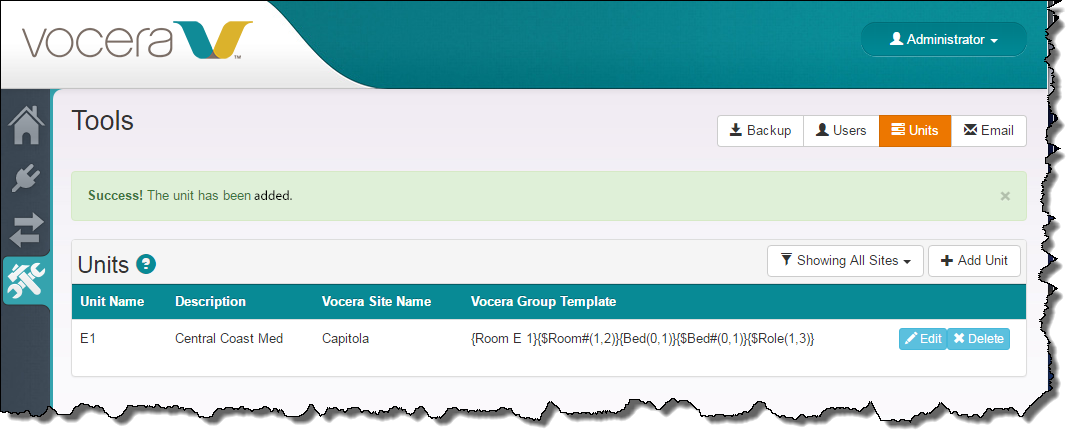
Click Save.
The Add Unit dialog box closes, your changes are saved to the database, and the unit appears in the Unit Name section of the Units page. The page also displays a success message.
-
Click the Sync Settings icon
(
 )
in the navigation bar on the left.
)
in the navigation bar on the left.
The Sync Settings page appears.