The Vocera Server section of the CTS
home screen displays a red icon to
indicate that you need to provide the network address of the Vocera Voice Server.
Use the following steps to
register the network address of the Vocera Voice Server with the
Vocera Care Team Sync server.
-
From the CTS home screen, click the Edit Vocera Server
button in the Vocera Server section.
The Update Vocera Server Configuration dialog box appears.

-
Enter the comma-separated list of network addresses for the Vocera Voice Server
cluster nodes in the Vocera Server Cluster IP Addresses field.
If you do not have a cluster, enter the network address of your standalone
Vocera Voice Server.
Use either numeric IP addresses or the fully qualified domain names of the machines.
You may also use a mix of IP addresses and fully qualified domain names for
Vocera Voice Server
cluster nodes.
-
In the Username field, enter the user name that you provide to establish a VAI connection to the
Vocera Voice Server.
You must provide credentials that have full administrative permissions to the
Vocera Voice Server
Administration Console.
-
In the Password field, enter the password that you provide to establish a VAI connection to the
Vocera Voice Server.
You must provide credentials that have full administrative permissions to the
Vocera Voice Server
Administration Console.
-
Click Save.
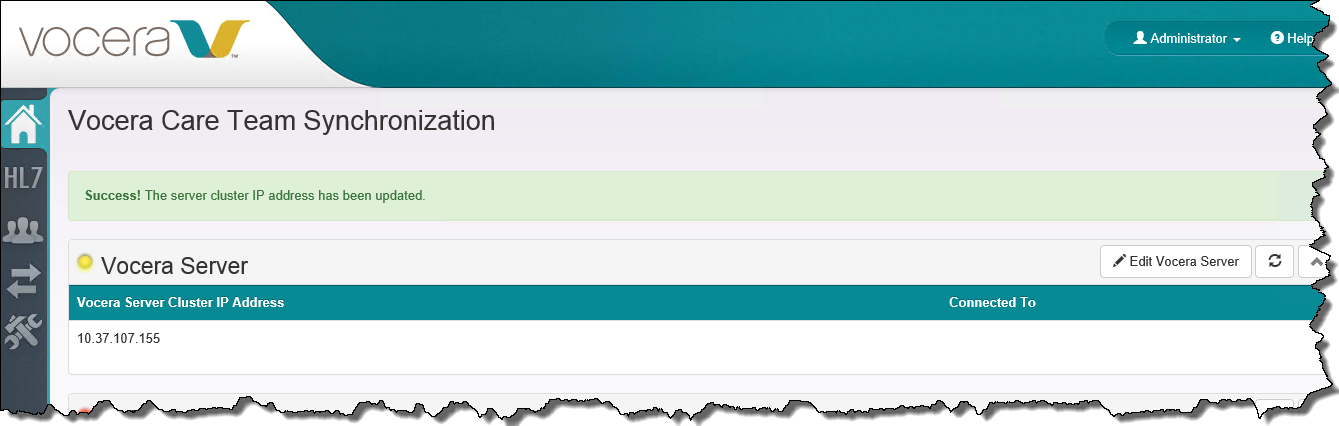
The CTS displays the message,
"Success! The server cluster IP address has been updated." when it is complete. In addition,
the Vocera Server section of the CTS home screen displays
the network address of the VS as well as a yellow icon to
indicate that you need to register the CTS
with the Vocera Voice Server.

-
Click the close icon in the top right of the message banner to dismiss the message.