The Vocera QoS Packet Scheduler Installation is an important task to ensure good connectivity. Windows QoS Packet Scheduler helps in the management of network bandwidth. It monitors data packets and assigns higher or lower priority levels to traffic and protocols.
Vocera QoS Manager service configures the QoS Packet Scheduler network service with
QoS parameters required by Vocera. The configuration prioritizes Vocera voice packets
that originate from the server.
To confirm that the Windows QoS Packet Scheduler is installed and enabled on a Windows Server 2012 machine, perform the following tasks:
-
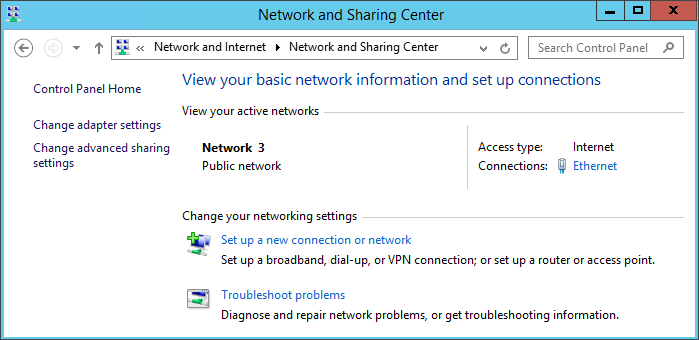
Select Network and Sharing Centre. The following
figure displays the network and sharing window.
-
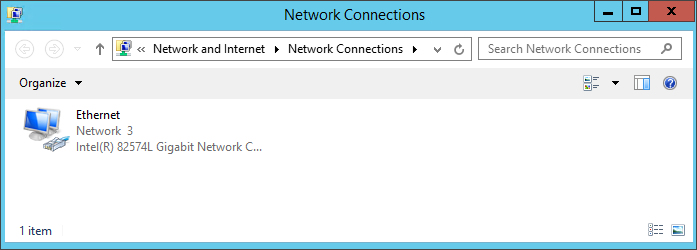
Select Change adapter settings.
The Network Connections window opens.
-
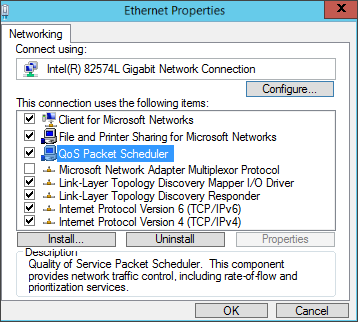
Right-click Ethernet and select
Properties.
The Ethernet Properties dialog box appears.