A logged in user can use the VMP Web Console to create an on-call schedule if you have used the VMP Administrator to grant permission to do so.
Note: For details on granting scheduling permissions,
see Granting Users Scheduling Permissions.
-
Click Schedule.

The list of schedules appears.

-
Enter a meaningful Schedule Name.

-
Click in the Schedule Start Date field to open the
calendar picker and select the start date.

-
If you want to copy the shifts for the new schedule from an existing schedule,
click to activate the Copy shifts from an existing Schedule
checkbox, and select the schedule from the dropdown list.

-
Use the Permissions pane to select Users/Groups with
permission to view or manage the schedule. Click to activate the checkbox next to the desired user or group and click
> to select.

-
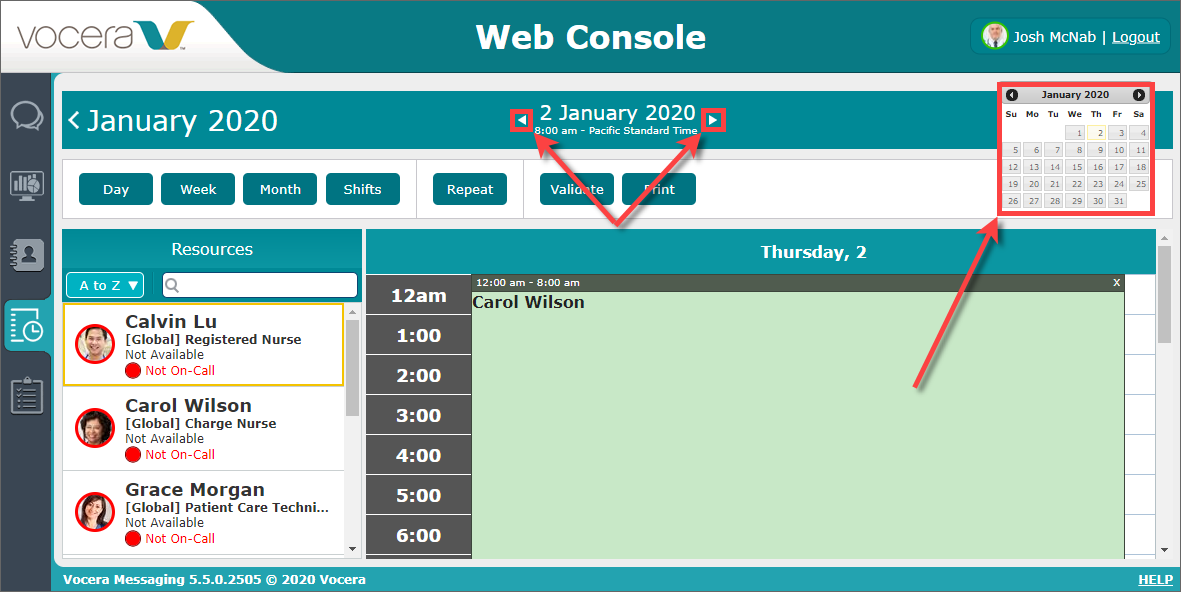
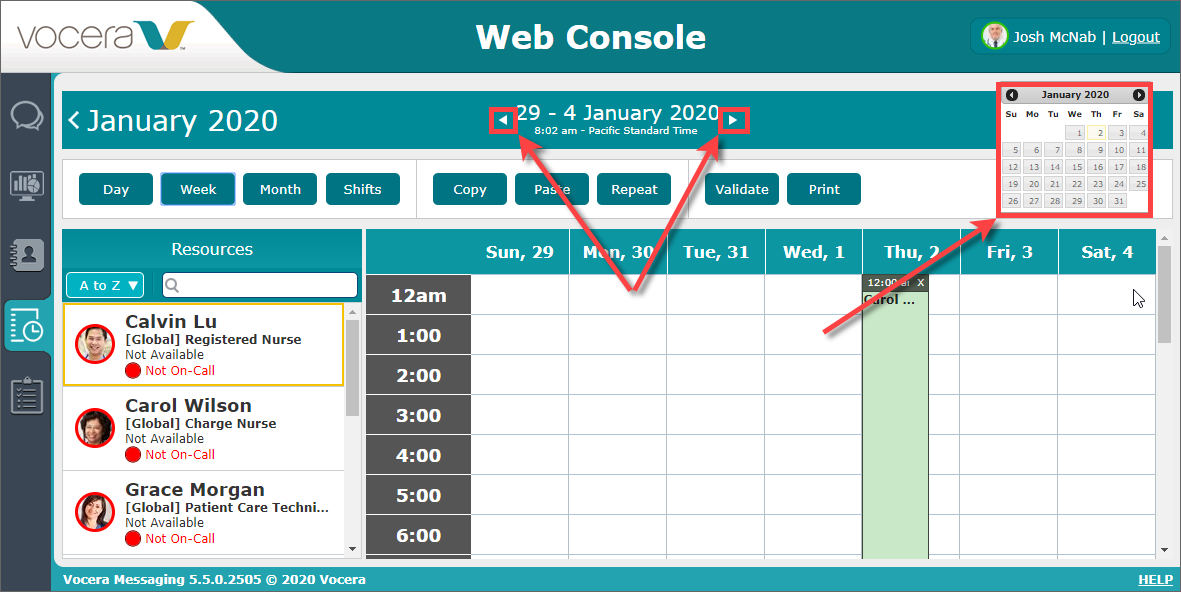
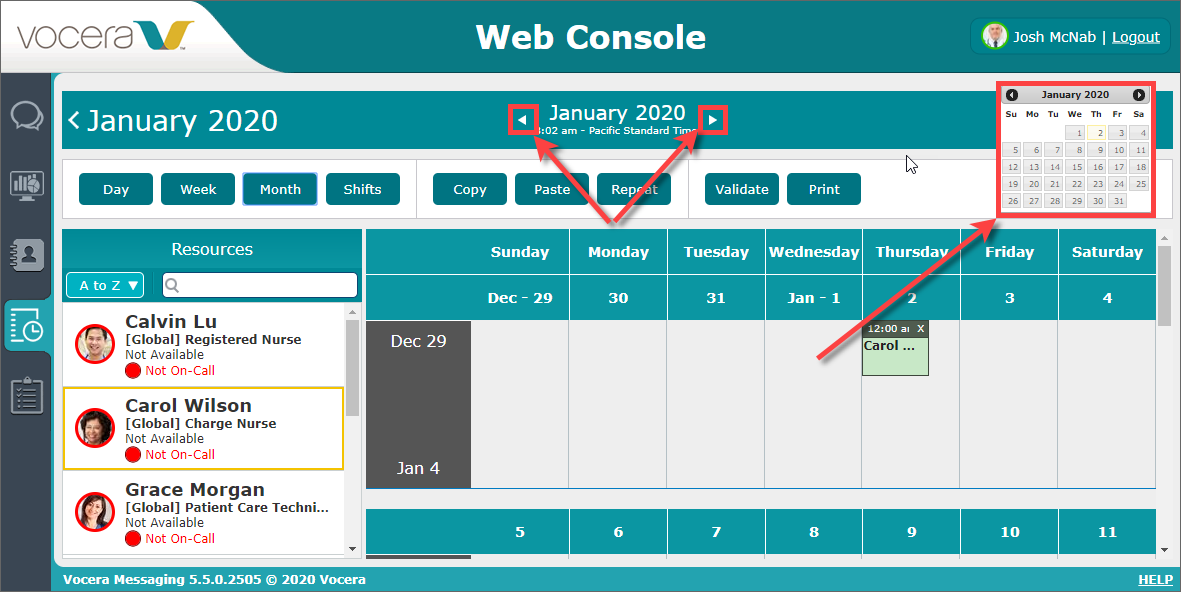
Use the arrow buttons or the calendar picker to select a date or date range for which to schedule shifts.
In the Day view, select a date:
In the Week view, select a week:
In the Month view, select a month:
-
To assign a shift to a user:
-
Drag the user's name to the time slot that is to be the start of the shift. The Shift Period dialog box appears.

Tip: To change the times for a user's shift, drag the shift assignment to the desired time slot. Drag the bottom of the shift assignment to increase the number of assigned hours. -
Drag the user's name to the time slot that is to be the start of the shift. The Shift Period dialog box appears.
-
When you have finished creating the shift assignments, click
Repeat to copy these assignments to other days of the
month:

- Use the checkboxes to specify the days of the week on which these shifts are to be assigned.
- Click in the Repeat from field to specify the start of the date range in which these shifts are to be assigned.
- Click in the to field to specify the end of the date range.
- Click OK.
-
Click Day, Week, or Month to view the
shift assignments for a specific day, week, or month. To view the shift assignments for
a specific user, click Shifts and then click the user's
name.
In the Week or Month view, you can copy shift assignments from one day to another:
-
Locate the day of the month whose shift assignments you want to copy. Click
on the heading for that day of the month to highlight it.

-
Locate the day of the month whose shift assignments you want to copy. Click
on the heading for that day of the month to highlight it.
-
When the schedule is complete, click the back arrow
to return to the Schedule list.
