Specify your company's name and the Vocera Analytics URL.
Add general information related to your company name and Vocera Analytics URL (if applicable).
To set up the General Configuration, perform the following steps:
- Click Save to save your changes and refresh your browser to view your changes.
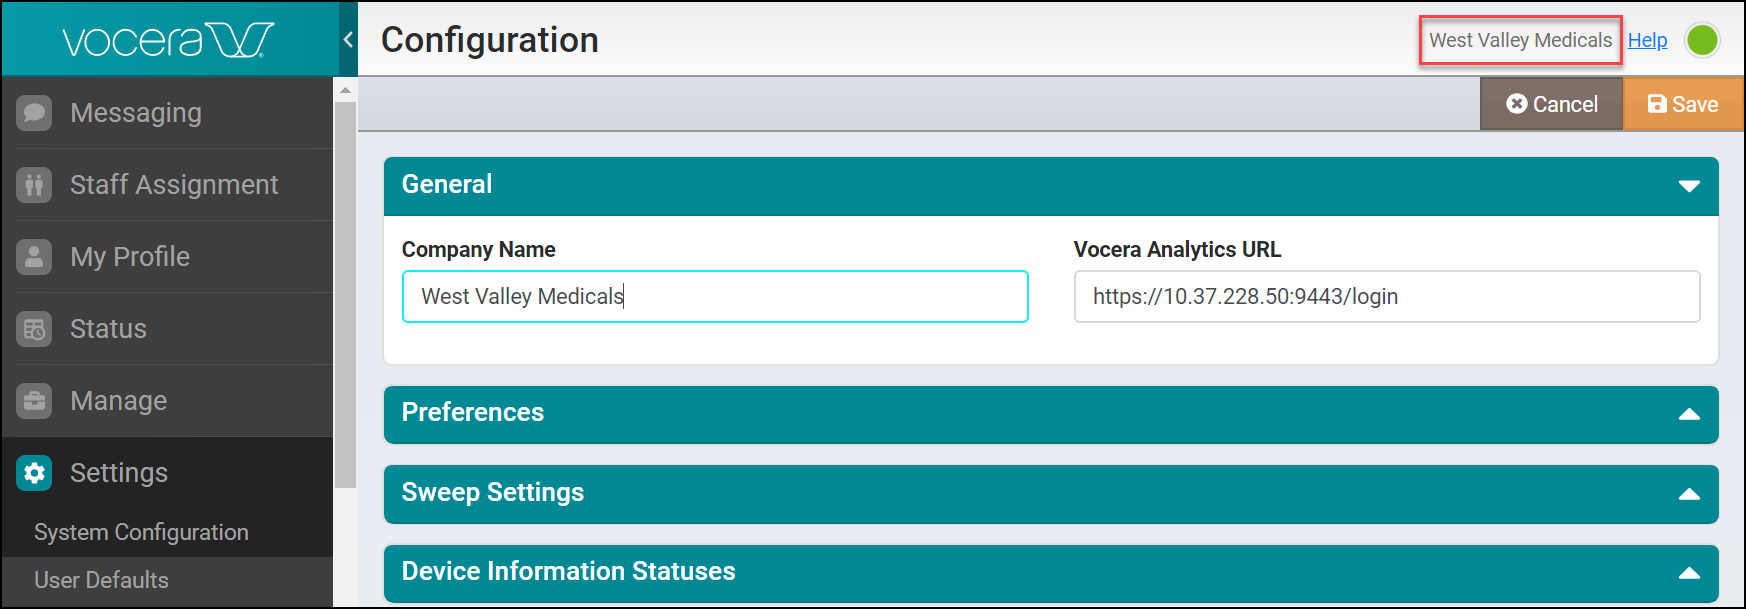
You will notice that the name you entered in the Company Name field displays near the Help link in the Web Console.
For example, the following screenshot shows the name "West Valley Medicals" entered in the Company Name and the same name displays on top of the Web Console
You can also see the Analytics section in the Web Console navigation bar. You can click on Analytics in the navigation bar to launch the Vocera Analytics login page.
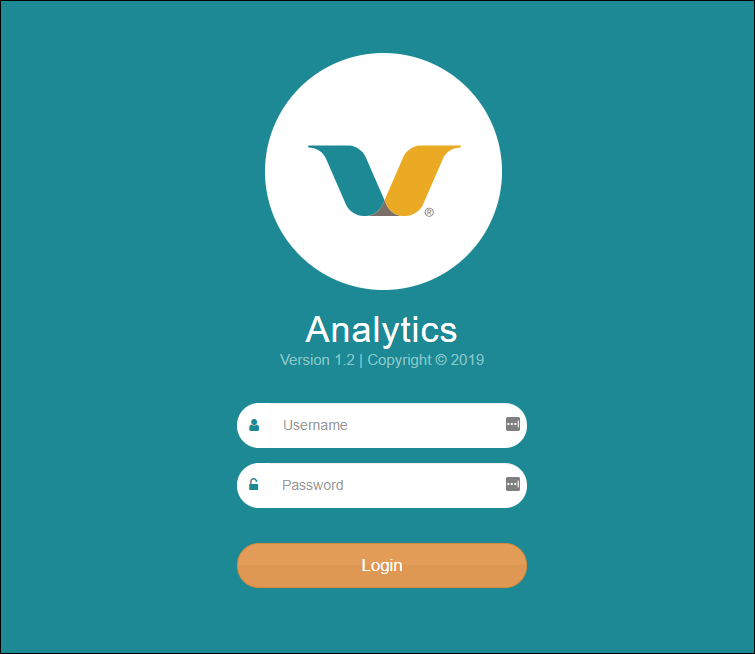
You can enter your credentials to login to the Vocera Analytics visualization server. The visualization server provides real-time data analysis, trends, dashboards, and reports along with the capability to customize reports.
To learn more about Vocera Analytics, refer to the supported Vocera Analytics Administration Guide and other related documents available on the Vocera Documentation Portal.