Use Pre-Defined Templates to quickly create Comma-Separated Value (CSV) files to upload bulk data to the system.
To import data using a pre-defined template, perform the following steps:
- Select Bulk Actions in the Manage section.The Bulk Actions page displays.
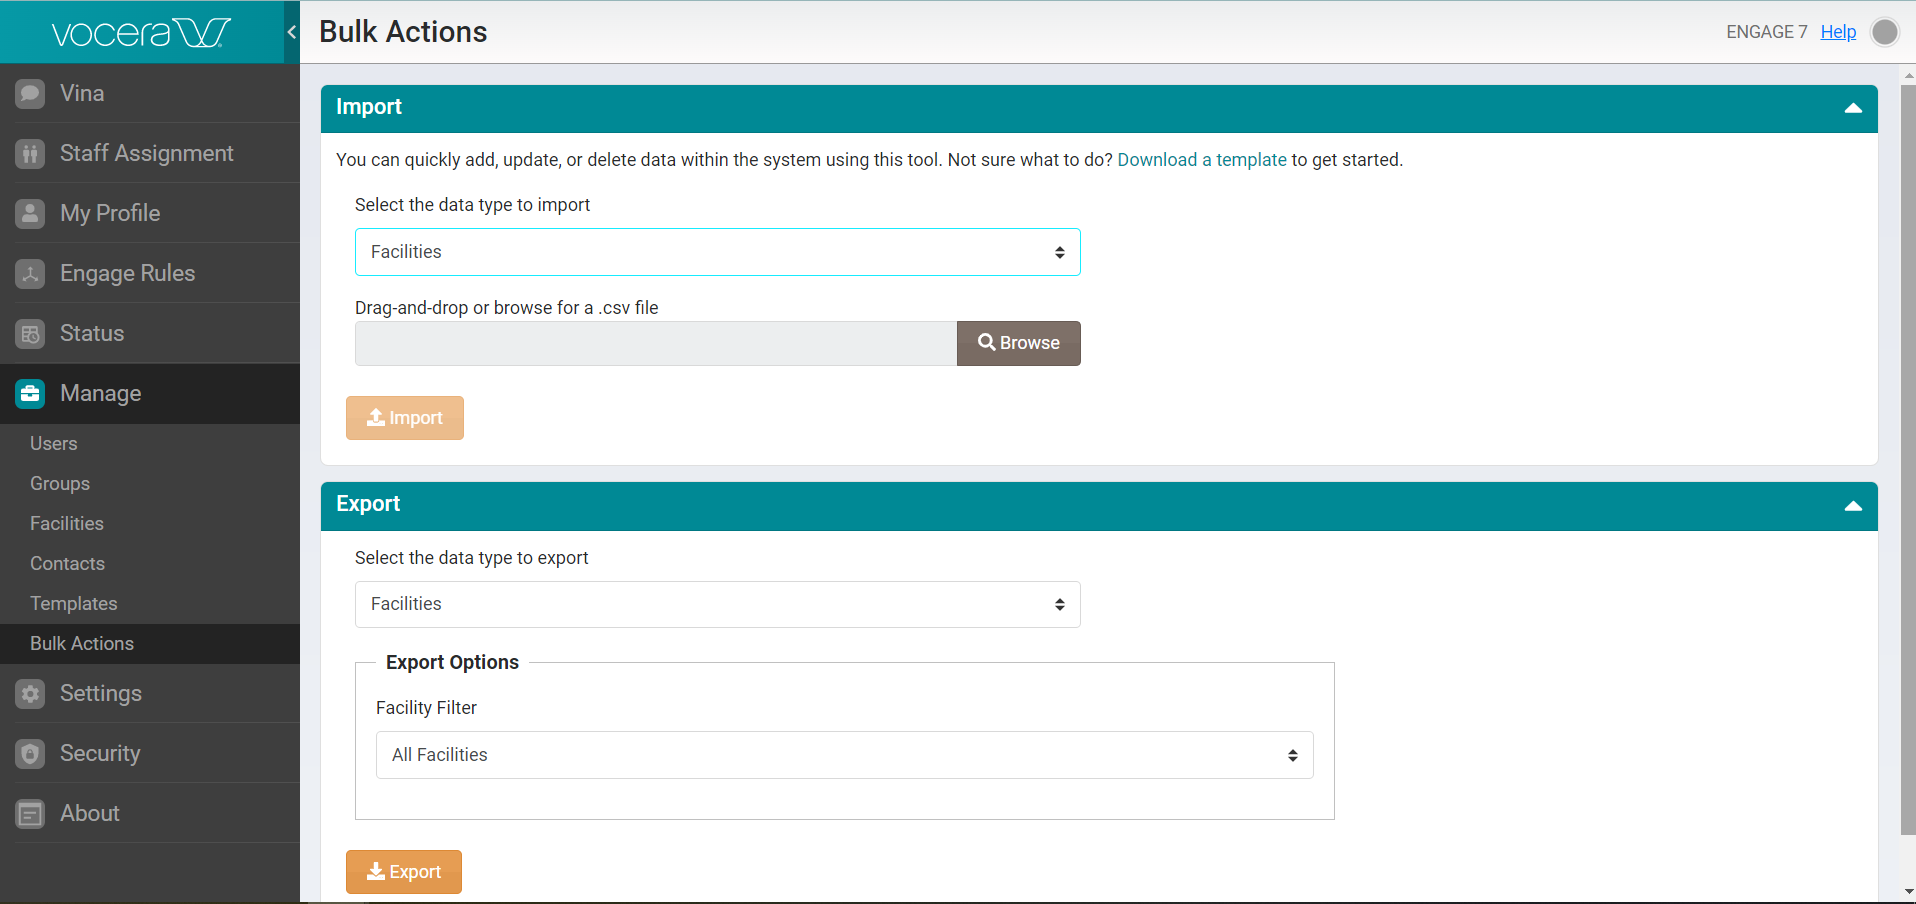
- In the Import section, select Download a template to download the Comma Separated Value (CSV) template for each available option.
The CSV import templates are in Microsoft Excel format. Use these templates to enter the data you want to load, then save them in a local or network folder.
 A pop-up displays with a list of available templates.
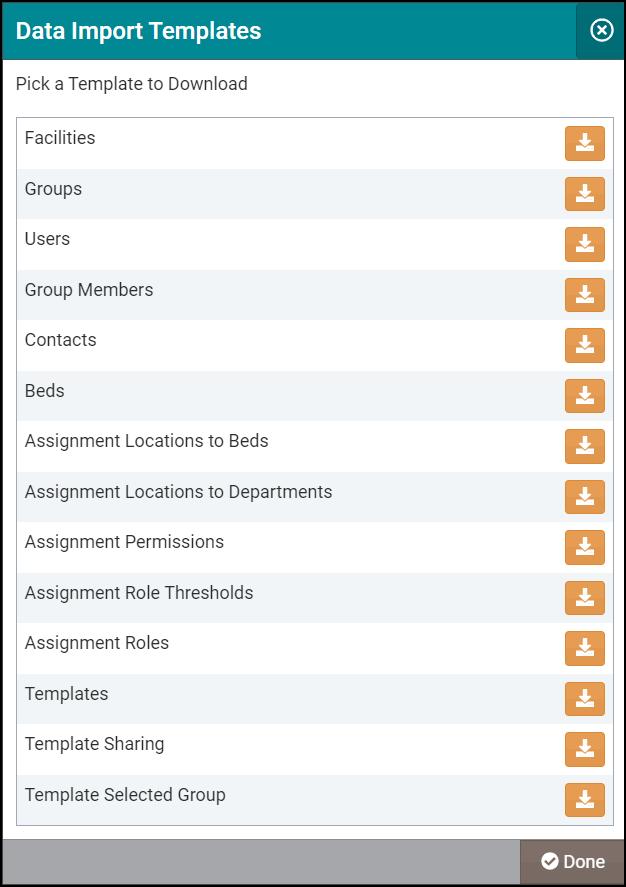
- Select Browse to locate your updated CSV file on your computer and upload it to the system, or drag and drop the file from your desktop. The following screenshot displays a Main_Hospital_Facilities.CSV file:
 Note: The Import button activates only after you drag and drop or upload a CSV file in the Browse field.
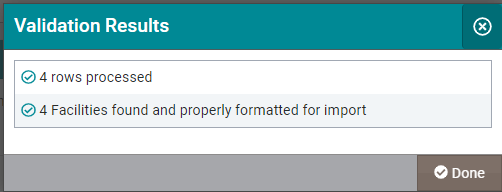
 - Select Import to import the uploaded CSV file to the system.The system validates the imported file and displays a Validation Results screen with the information on the fields processed through the import action.