Begin by selecting the Add icon to create an alarm or alert, and end with a new rule that displays in the Alarms & Alerts list under the associated dataset type divider.
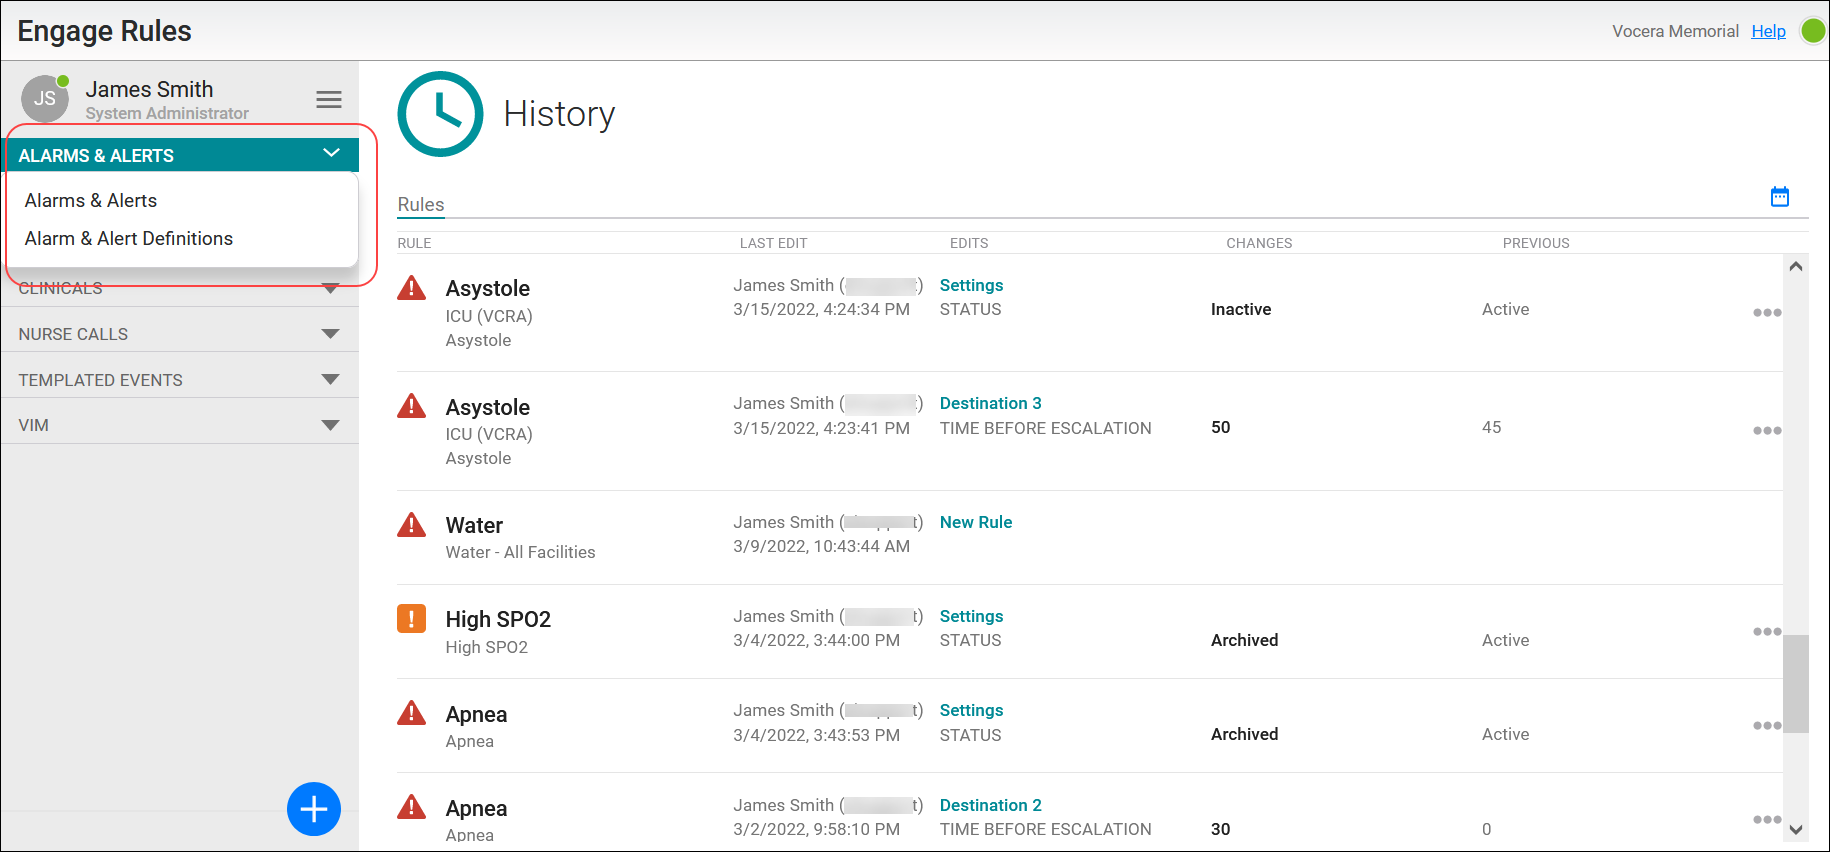
- Select Alarms & Alerts in the Engage Rules navigation.
Use the arrow to expand the menu to toggle between Alarm & Alert Definitions, and Alarms & Alerts, as needed. The Alarm & Alert Definitions tab is displayed automatically if there are no alarm definitions defined. When at least one definition exists, the Alarms & Alerts tab displays by default.
- Click the Add icon (blue circle containing a plus sign) at the bottom of the Alarms & Alerts menu.
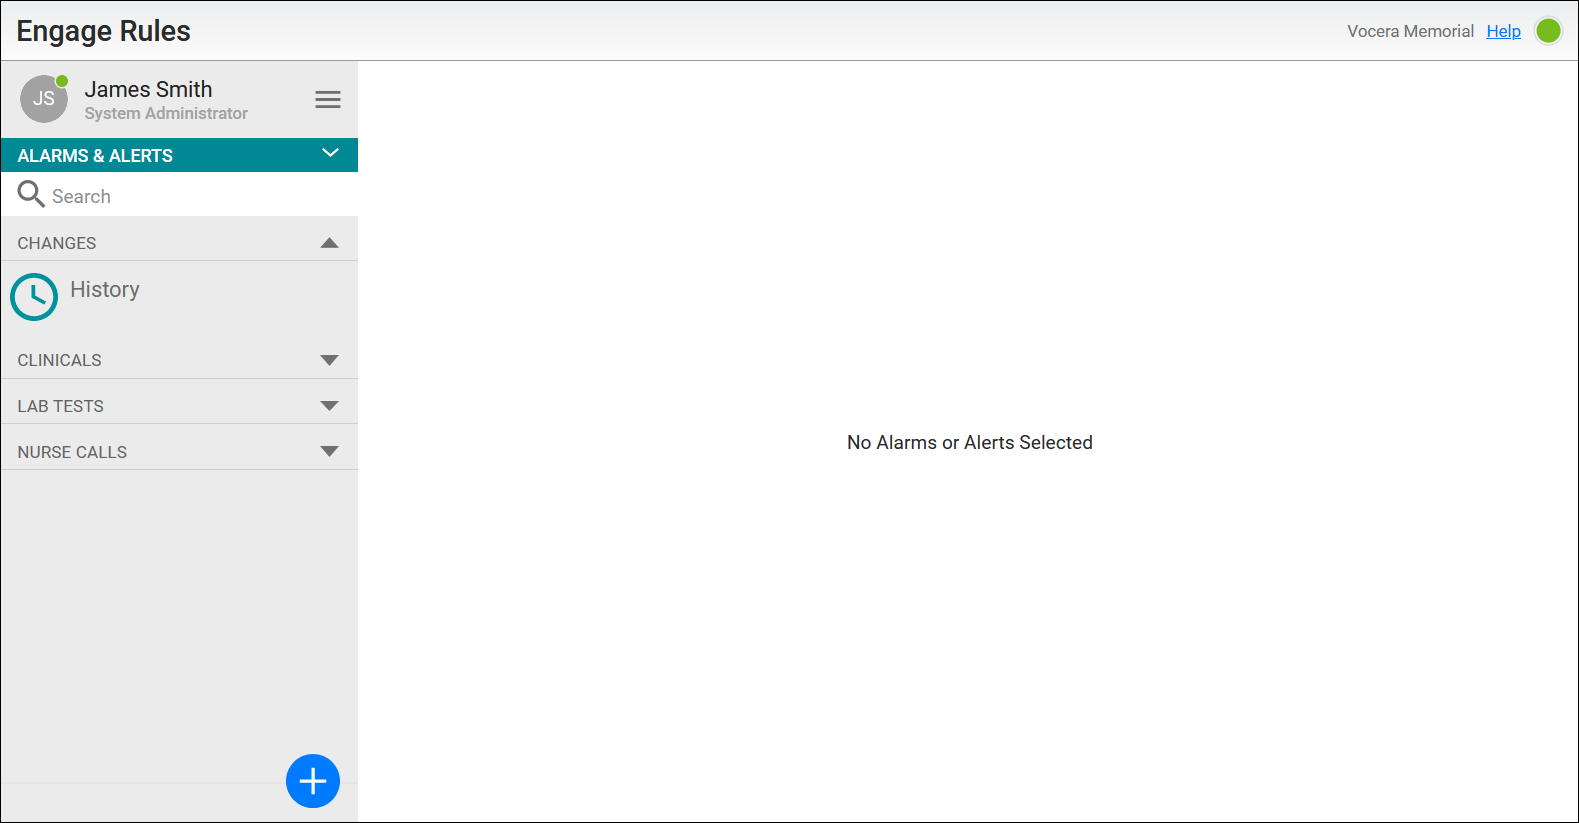
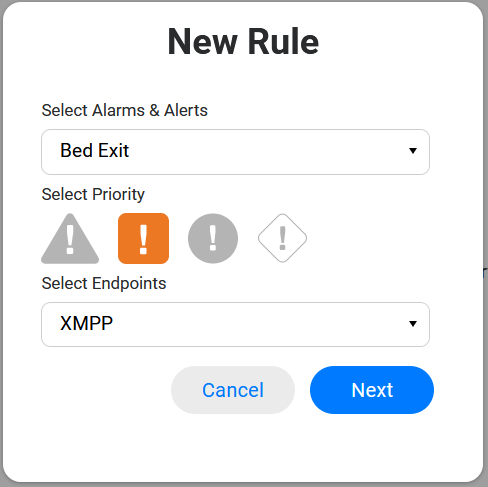
The New Rule dialog displays.
- Complete the New Rule dialog configuration fields.
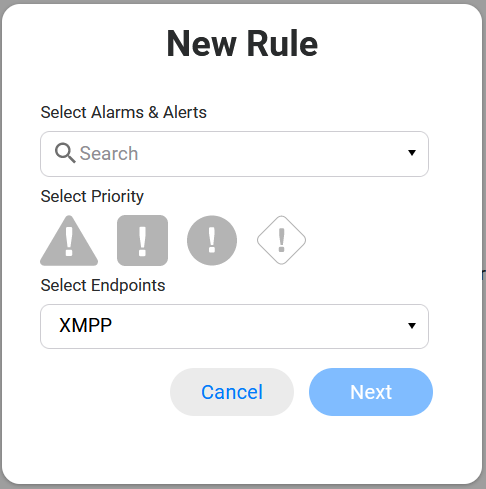
Field Description Alarms & Alerts
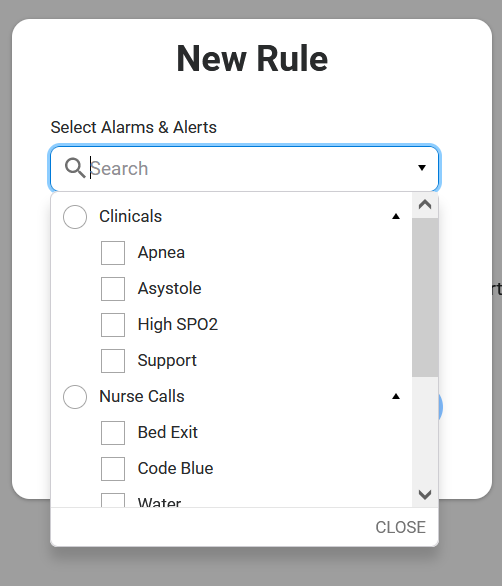
Select one alarm from the dropdown list. This field is required.
If needed, de-select a chosen alarm to allow a different alarm to be selected.
Note that the Preset options displayed in the next configuration step are determined by this selected alarm.
Once selected, click Close at the bottom of the Alarms & Alerts dropdown list.
Priority
Select one priority for the alarm. Place the cursor over the icon to read its name in a tooltip. This field is required.
Once selected, the priority color displays on the icon. Initially all icons are grey.
Options are Urgent, High, Normal, Templated:
Urgent — red triangle
High — orange square
Normal — yellow circle
Templated — blue outlined rhombus
Note that the templated priority option displays a dropdown list of predefined priorities that were uploaded to the system.
Endpoints
Select one or more supported endpoints. This field is required.
The rule configuration settings are determined by these selected endpoints. The endpoint adapter settings display later in the configuration tabs as the rule is defined.
Once the required selections are made, the Next button is enabled.
- Choose Next to continue creating the rule.
Select an option to close the New Rule dialog
Cancel — Exit the dialog without saving the new rule. No changes are made to the system.
Next — Close the New Rule dialog and continue with the rule configuration.
The rule's configuration settings display.
- Configure the general settings for the rule.
Any settings required for the selected endpoints must also be configured in order to save these configuration settings and the rule.
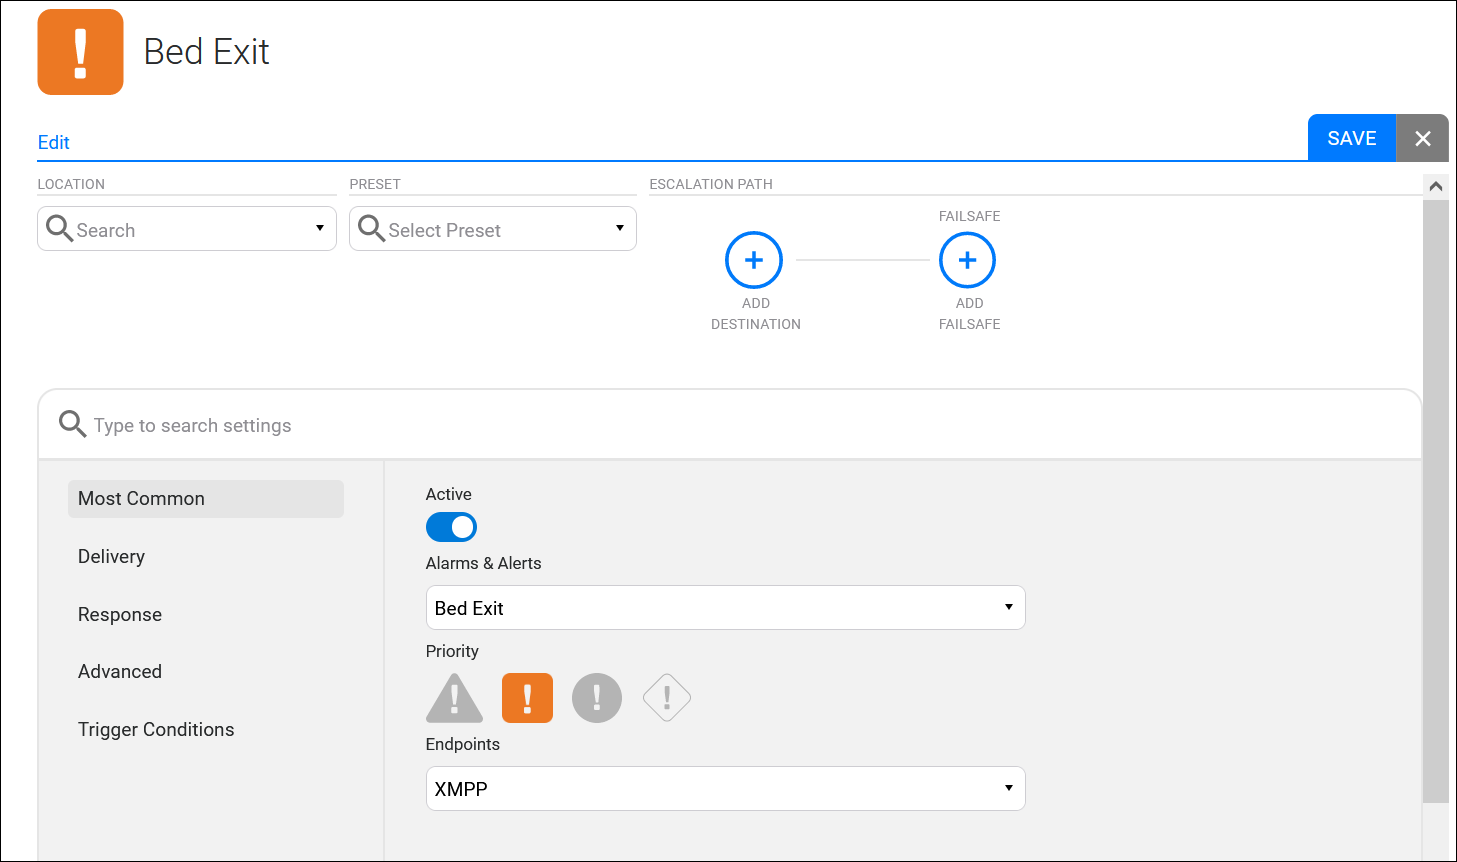
Field Description Location
Select a facility location from the dropdown list, if needed.
Options display depending on the facilities configured in the system.
Best practice recommendation is to design each rule to cover as many locations as possible. A careful plan will reduce rule issues by limiting the number of rules to maintain.
Preset
The Preset field displays when creating a new rule. When editing an existing rule, this field displays the rule name.
Select a Preset if you wish to use a template.
The selected preset will pre-populate the configuration fields in this new rule with the settings used in the selected template. Templates are provided in the default Vocera implementation.
Escalation Path
Configure the escalation path.
This defines the initial and subsequent recipients for the rule, as well as escalation thresholds on the path.
Refer to Working with the Escalation Path for details.
Settings
Configure the additional rule settings as needed. These settings depend on the selected endpoints.
Refer to Configure the Settings for Engage Rules for details.
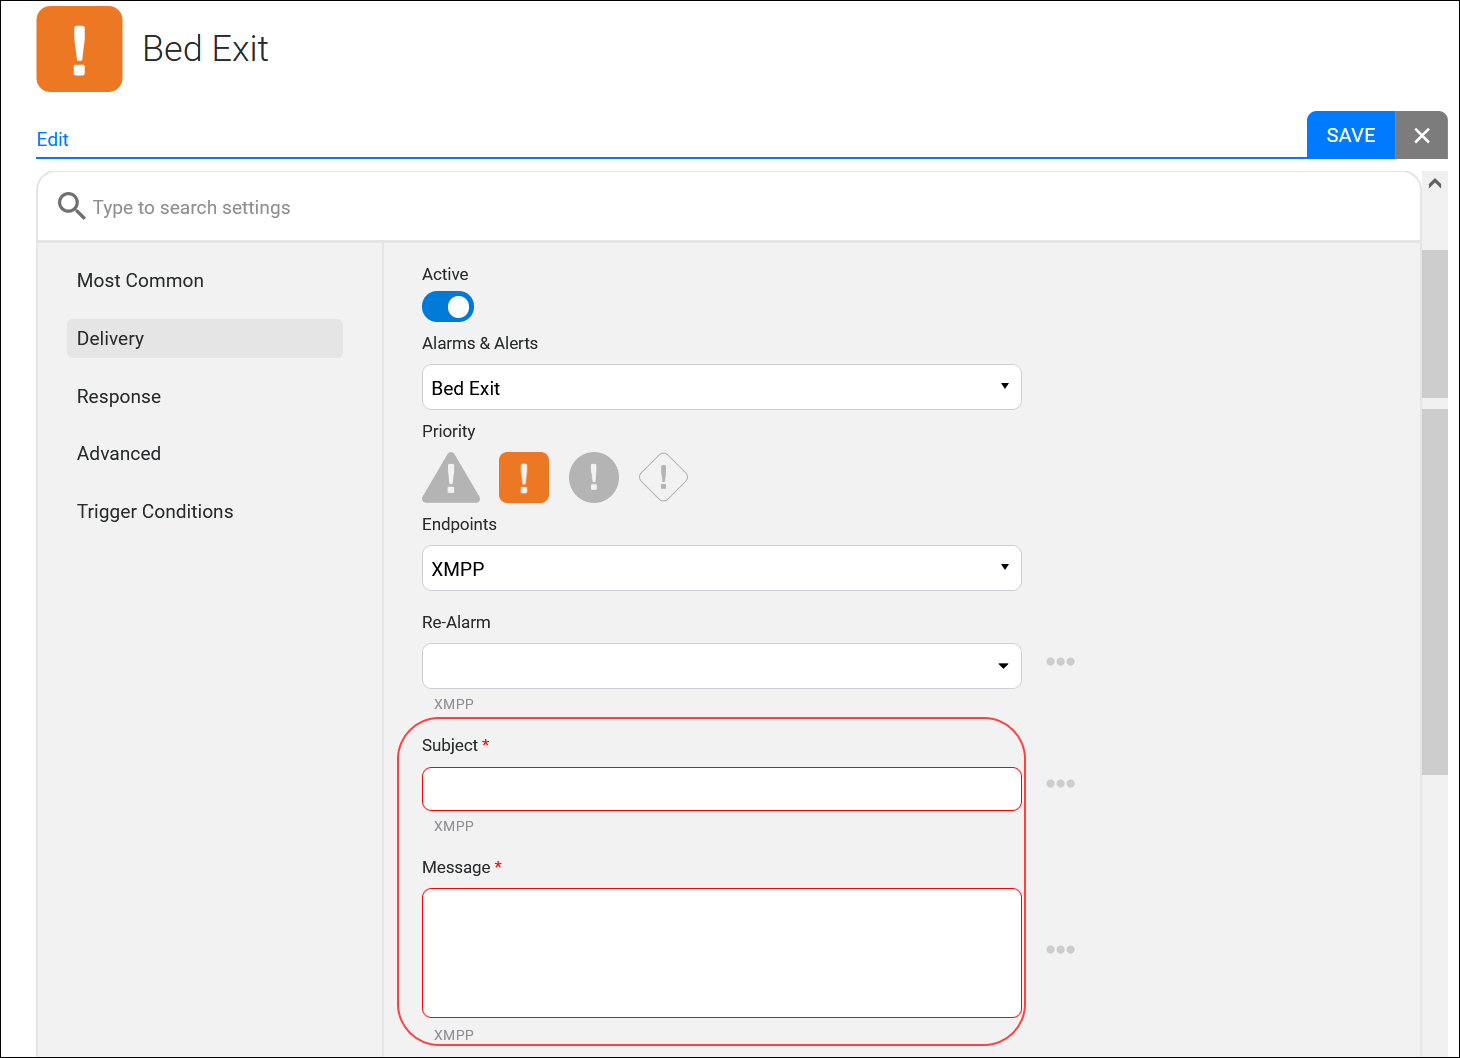
- Configure the rule settings as needed.
Required fields display a red asterisk next to the name, and a red border displays on the field until it is configured.
Refer to Configure the Settings for Engage Rules for details.
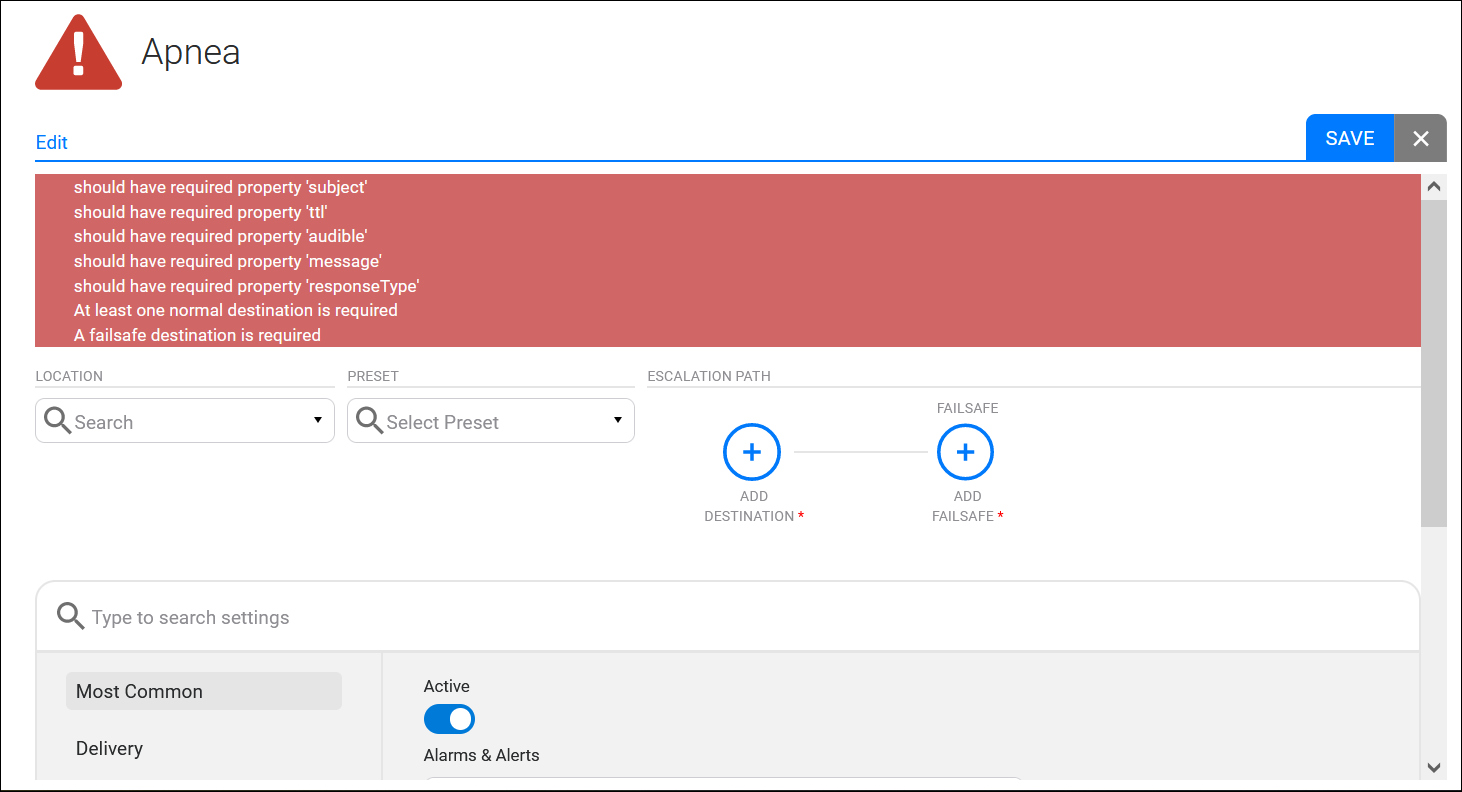
- Select Save in the rule window.
If a required endpoint or dataset setting is not configured, an error will display at the top of the window.
Error messages display in red and reference the configuration settings that are required for the selected endpoints, or dataset. A normal destination and a failsafe destination are both required when the rule utilizes the Clinicals dataset.
Select an option to exit the rule configuration settings.
Save — Displays the New Rule dialog where you can save or cancel the rule configuration.
X — Exit the rule configuration settings without making any change to the system.
The New Rule dialog appears.
- Enter a descriptive name in the Rule field in the New Rule dialog.
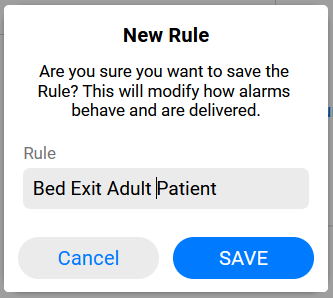
The new rule displays in the main window under the alarm group's Active status, and is found under the associated dataset Type in the Alarms & Alerts menu.