You can enable clustering on a standalone server from the Vocera Platform Web Console.
Vocera Platform is configured as a standalone node when clustering is disabled.

To initiate clustering in a standalone configuration:
-
Click Edit to display the configuration
information.
The high availability configuration page displays.
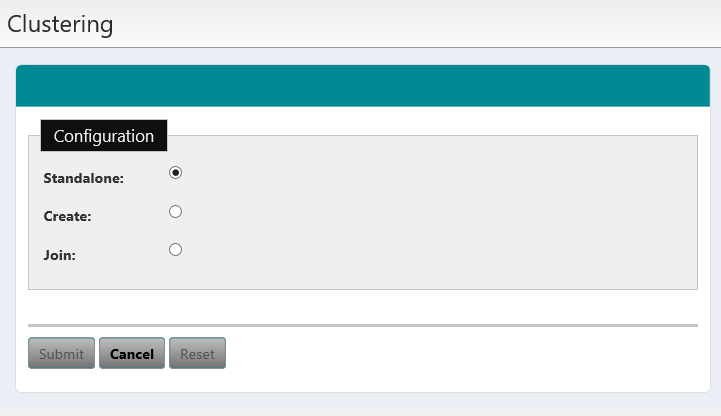
If your system is not a node in a cluster, you will notice that the clustering configuration is set to Standalone
-
Enter the Virtual IP (VIP) address in the IP Address field in the Details
section.
The system automatically generates the Authentication Token, once the IP Address field is populated.

What to do next:
Enabling clustering is a two step process. After setting up the master node configuration, you must perform the configuration tasks on the slave node and allow it to join the cluster. For more information, see Joining a Database Cluster.