Install the Vocera Analytics Suite to use the dashboards and reports functionality in the Analytics Server.
- Antivirus must be turned off.Note:
If antivirus is enabled, the service monitor service will be unstable or missing altogether. This behavior is due to NSSM.exe quarantined by antivirus.
- Vocera Analytics setup executable programs must be whitelisted.
- Internet Explorer 11 Web Browser (latest update) on Windows Server 2016 using
Document Mode 10 or higher must be installed.Note: It may be necessary to add specific URLs for Vocera Analytics to the Compatibility View, depending on the specific security policies implemented at your site.
- Java-enabled Web browser with Active Scripting for Public must be turned on.
- Ports 9443 and 9445 should be open and should not be blocked.
-
To install Vocera Analytics agent, you would need administrator privileges.
- To configure Vocera Analytics with Voice Server as source, you would need Voice Admin Console administrator credentials.
- SSH access to Engage Appliance must be granted.
From Vocera Analytics Server you would need an SSH connection to Engage appliance.
- Run Dimension Loader from the active Visualization Server.
To install the Vocera Analytics Suite on the Vocera Analytics Server, perform the following tasks:
-
Right-click
VASuite.exe>
Run as administrator.
The installer is launched, and the installer Welcome to the InstallShield Wizard for Vocera Analytics Suite 1.0.0 screen appears.

-
Select I accept the terms in the license agreement after
you have read the license agreement.
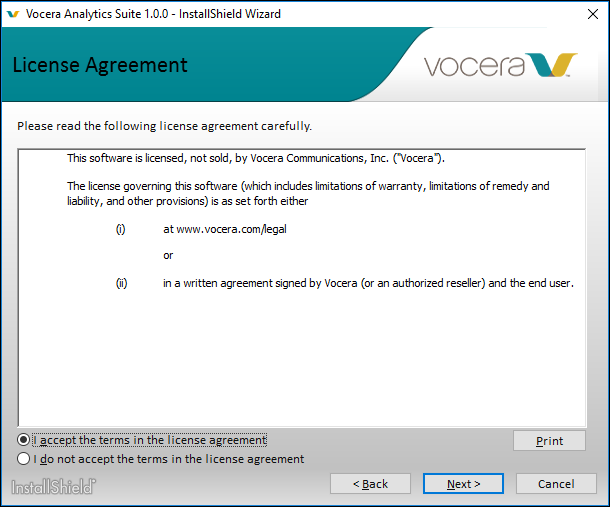 Note: Click Print if you want to print the license agreement.
 -
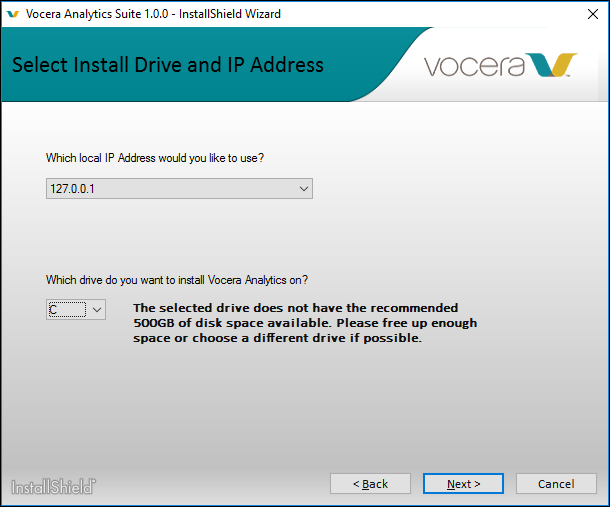
Browse to the drive that you want to use, to change the installation
drive.
 Note: The installer logs are stored in the following location: <Vocera Analytics Install Drive>:\InstallLogs-Vocera\VoceraAnalytics\<version>.
For example, if Vocera Analytics is installed on C drive, the installer logs are located at: C:\InstallLogs-Vocera\VoceraAnalytics\1.0.
Note: If you select a drive less than 500 GB of disk space a warning message is displayed. However, you can continue the installation if the required disk space is available. -
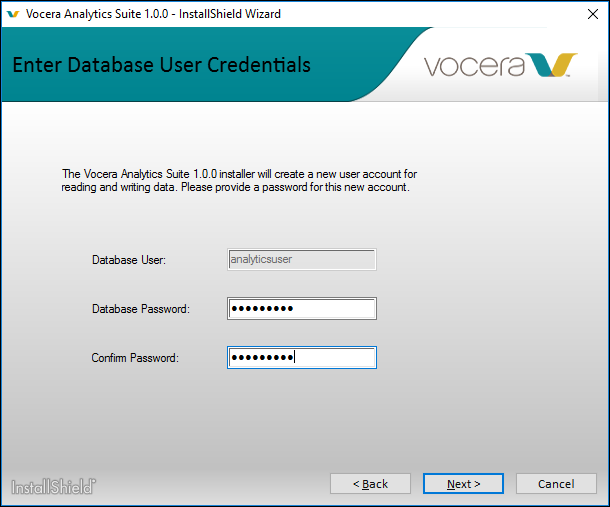
Click Next.
The Enter Database User Credentials screen appears.
-
Click Next.
The Ready to Install screen appears.
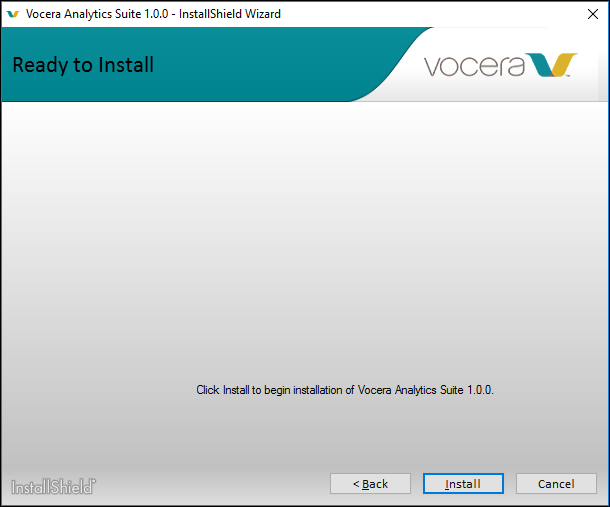
-
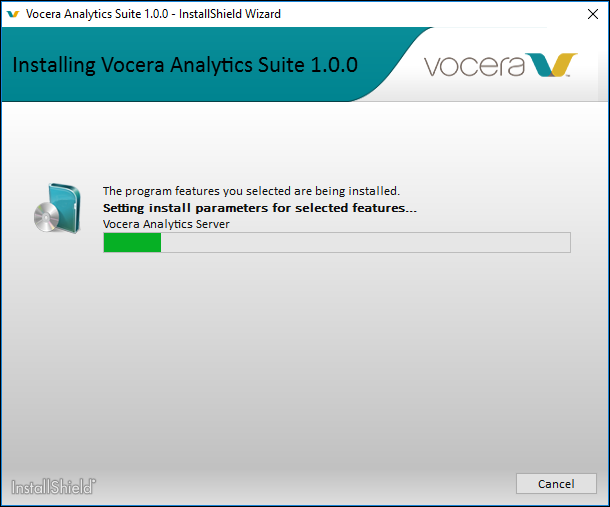
Click Install.
The Installing Vocera Analytics Suite 1.0.0 window appears. Do not close any installer windows that appear during installation.
-
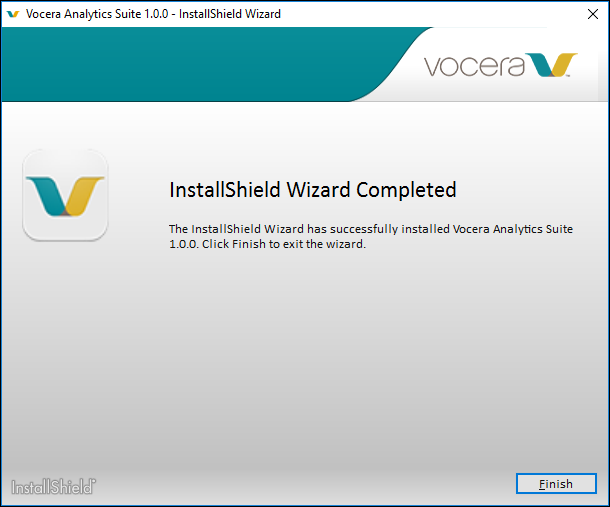
Click Finish.
The InstallShield Wizard Completed screen appears.
After the installation, the Monitoring Services opens on your default web browser.
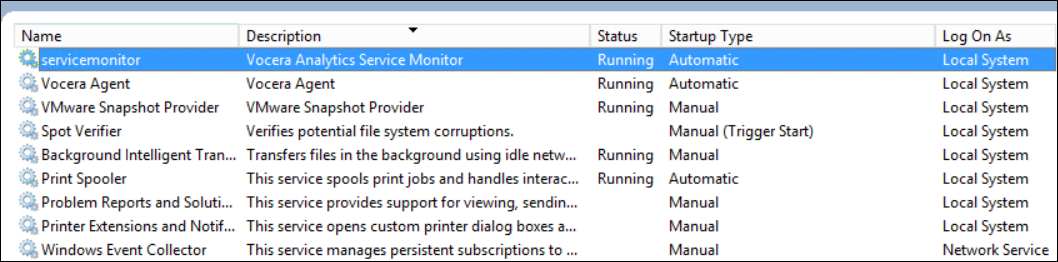
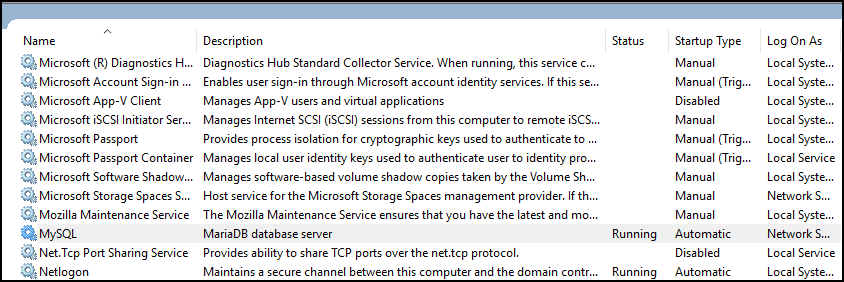
Note: After Vocera Analytics Suite installation is complete, a Vocera Analytics desktop icon is automatically created on your desktop. Use the desktop icon to access Monitoring Services.Using services.msc, validate that Vocera Analytics is installed successfully and check if the service monitor and MySQL services are installed and running.Note: The service monitor installed on this Vocera Analytics server is the master service monitor.The following screenshots display the service monitor and MySQL services running on the Visualization Server.
 Note: Without the license, you would not be able to login to the service monitor browser.
 -
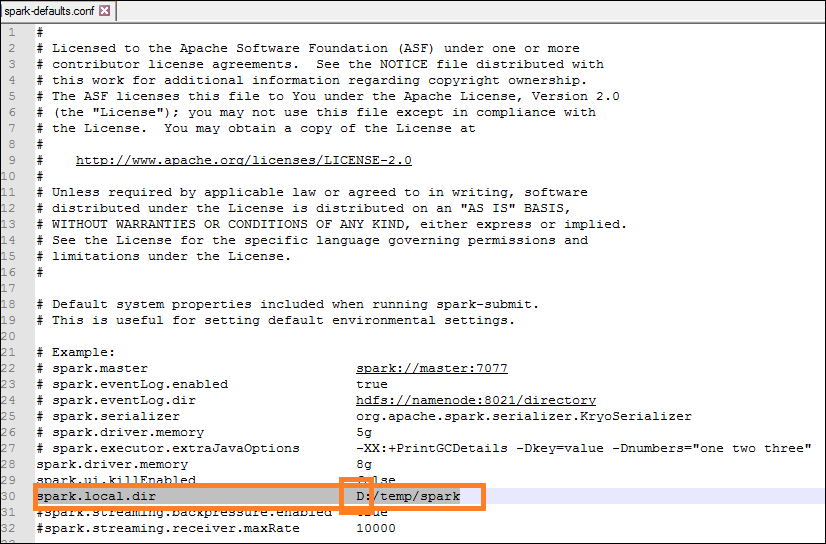
Browse to the spark-defaults.conf file located at:
<Vocera Analytics Install
Drive>:\VoceraAnalytics\AnalyticsServer\conf
In the spark-defaults.conf file, ensure that the Spark.local.dir path is updated to the drive where Vocera Analytics is configured. For example, if Vocera Analytics is configured on D:/temp/spark drive, update the Spark.local.dir path to D:/temp/spark.
The following screenshot displays the spark-defaults.conf file.