- Configured Engage appliance with Facilities and Units
- Configured Voice Server with Sites and Departments
- Cross walk mappings are intended to be 1 to 1:
- one facility = one site
- one unit = one department
To configure cross walk for ManageSites, perform the following steps:
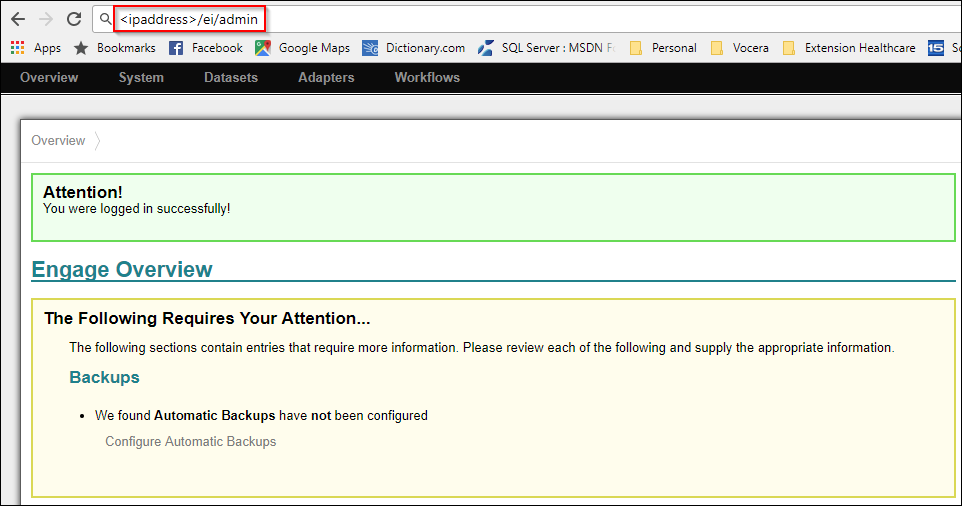
- Log in to the Engage appliance.
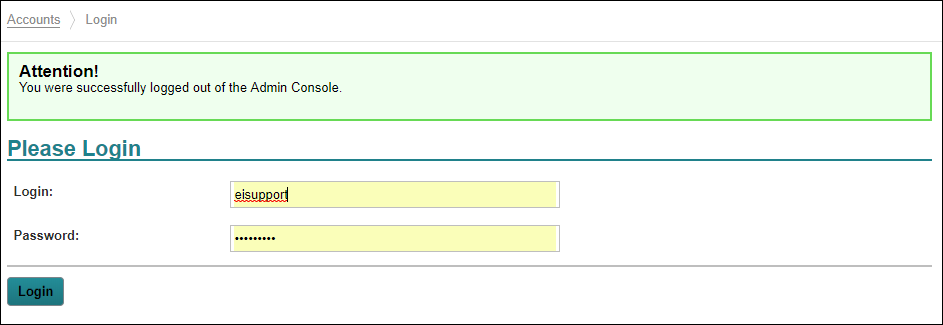
- Navigate to Admin Console.
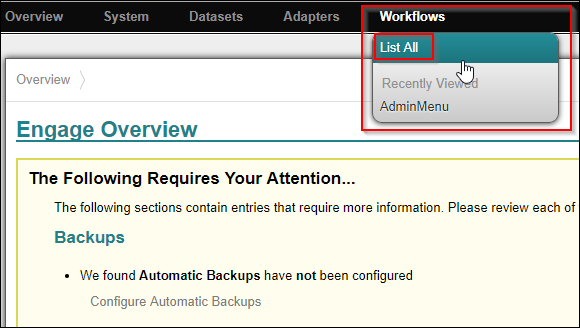
- Click Workflows>List All.
A list of all Workflows are displayed.
Creating New Site
To create new site, perform the following steps:
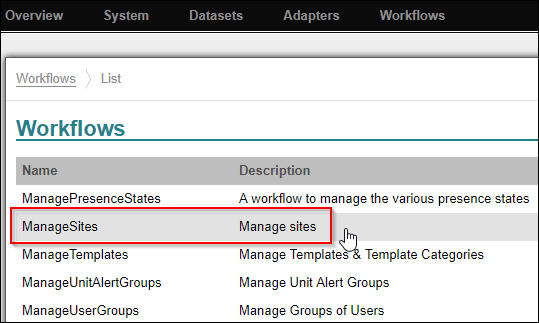
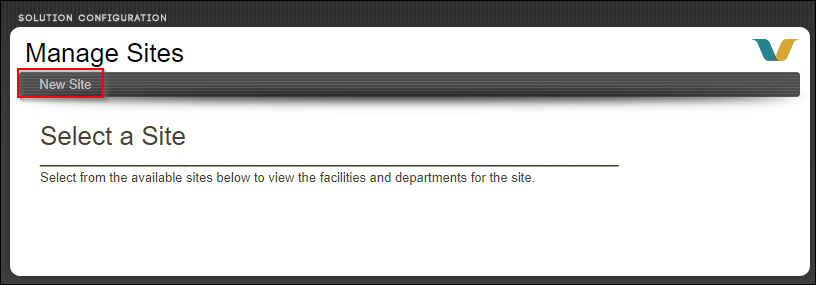
- Select ManageSites.
- Select New Site.
- Enter the site name of the Voice Server. For example,
VOCERASITE.
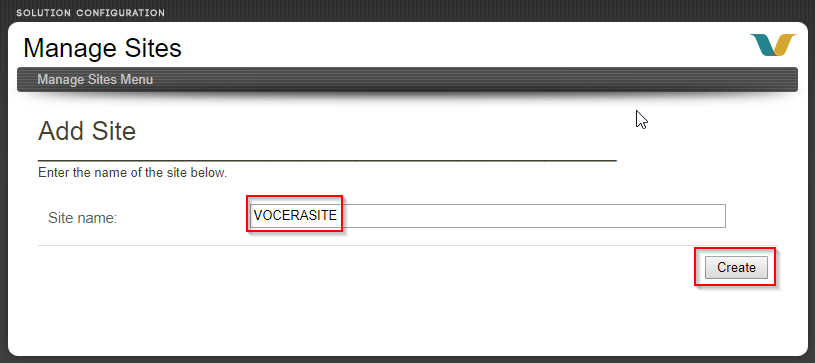 Note: Ensure that the site you entered is exactly the same as given in the Voice Server.
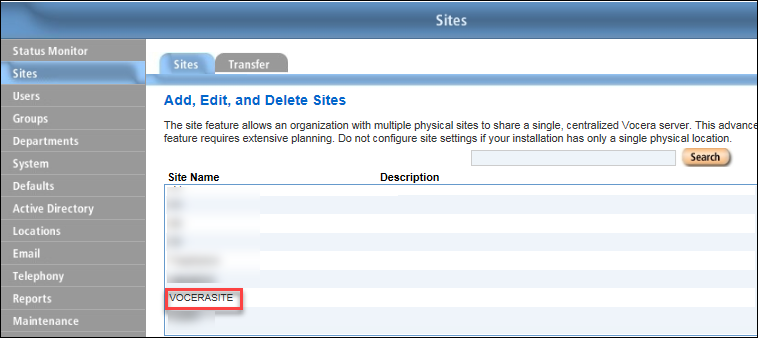
The following figure shows the site name, VOCERASITE, configured in the Voice Server.
- Click Create.
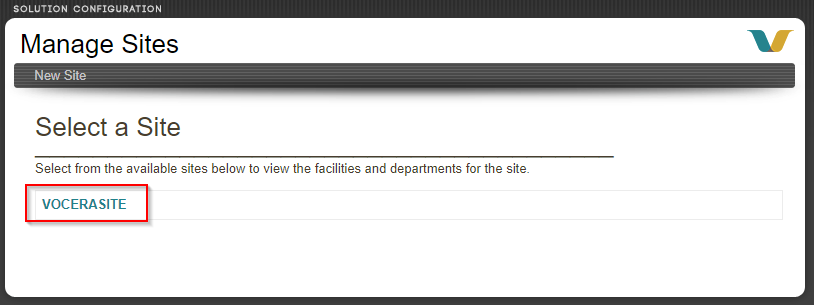
The newly created site, VOCERASITE, is displayed.
Assigning a New Facility to a Site
To assign a new facility to a site, perform the following steps:
- Click VOCERASITE on Manage Sites
page.
- Click Add Facility.
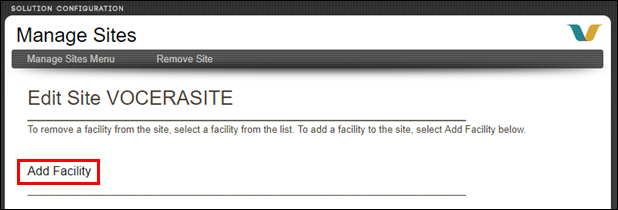
Links the Voice Server site to the Engage facility.
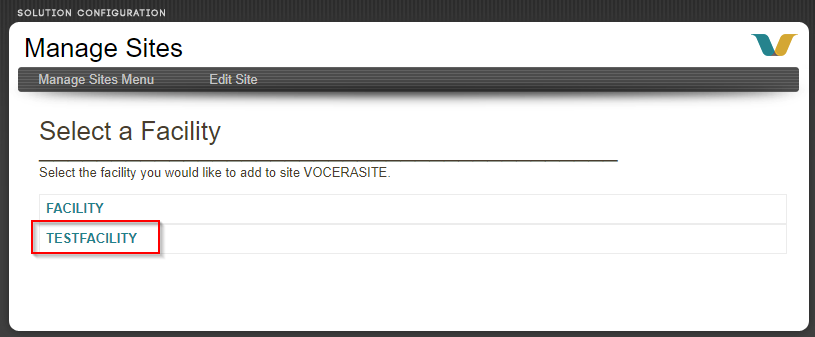
- Select the Engage facility. For example, TESTFACILITY.
Maps the Engage facility to the Voice Server site.
- Verify that the facility and site are correct and then click
Add.
The Engage facility and Voice Server site are now mapped.
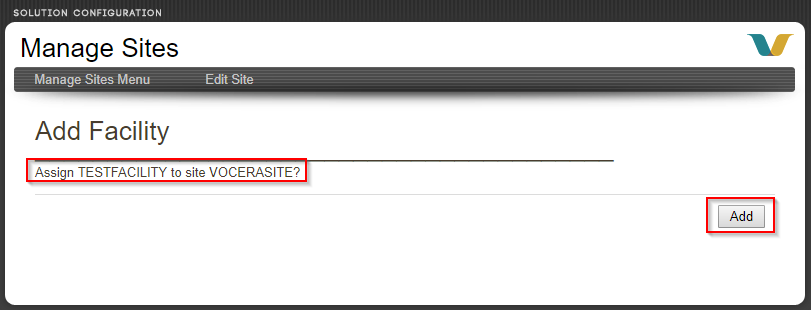
Perform these steps to map all Engage facilities to Voice Server sites.
Adding a New Department
To add a new department, perform the following steps:
- Click VOCERASITE on Manage Sites
page.

- Click Add Department and enter the department name. For example,
g-nicu.
Currently all department names must be prefixed with g- in order to display the unique facilities/units correctly.
Ensure that the department name is the same as the Group ID of the Voice Server department.
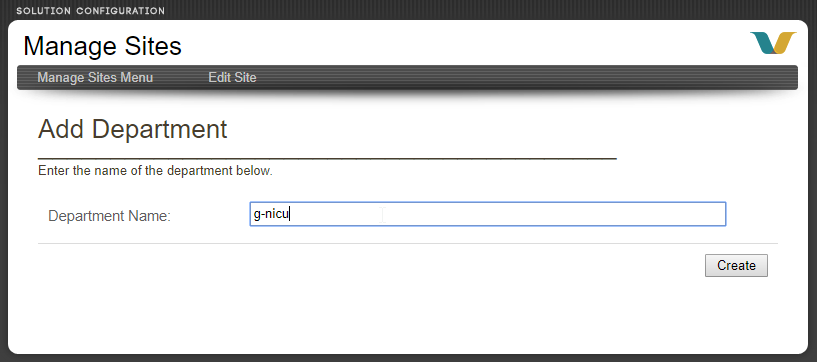
- Click Create.
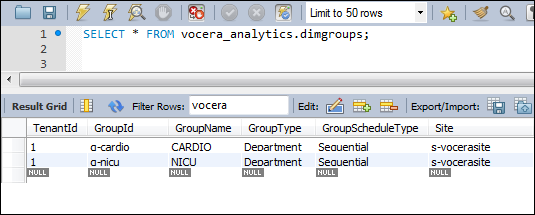
- Verify that the department you entered is the same as provided in
GroupId column of the dimgroups table in the
vocera_analytics schema.
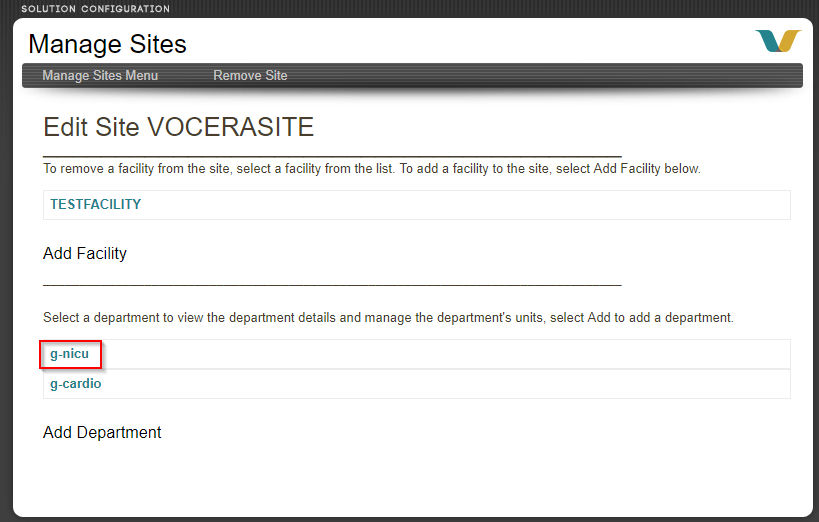
- Select the first Voice Server department to map to an Engage unit. For example, g-nicu.
Adding a New Unit
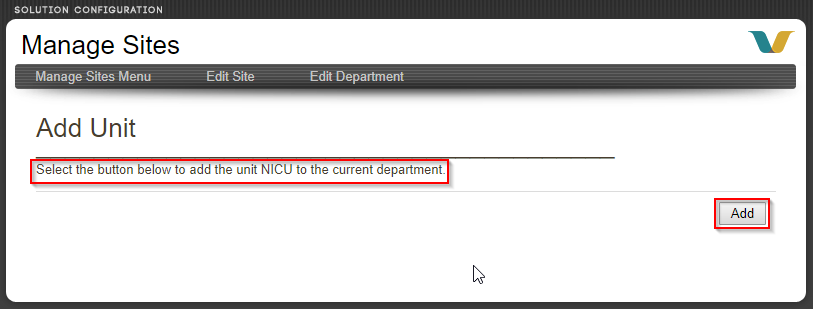
To add a new unit within a department, perform the following steps:
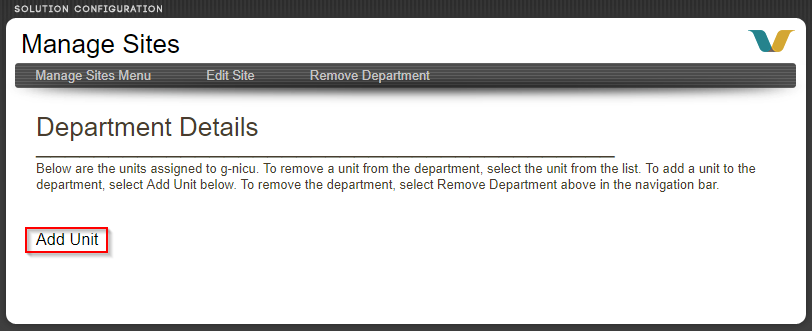
- Click Add Unit on the Department Details
page.
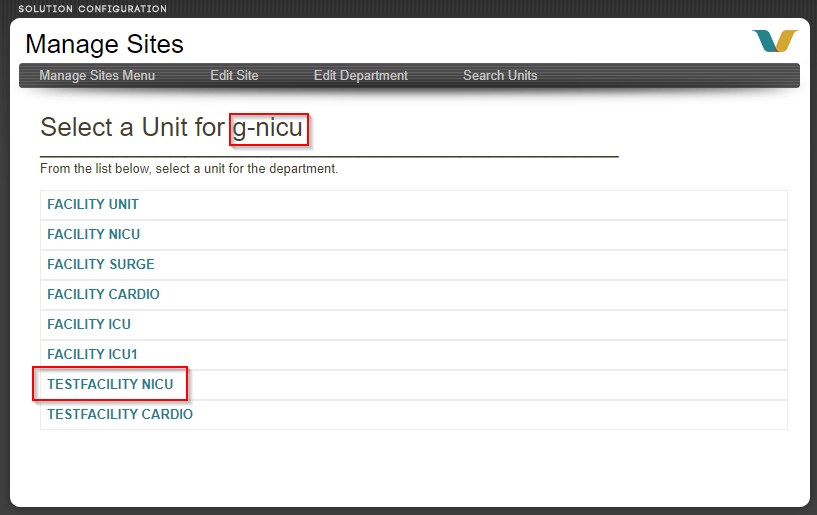
- Click the Engage unit to map to the Voice Server. For example, TESTFACILITY
NICU.
- Click Add.
The Engage units and Voice Server departments are now mapped.
Perform these steps to map all Engage units to Voice Server departments.
Verifying the Mapping Details
To verifying the mapping details , perform the following steps:
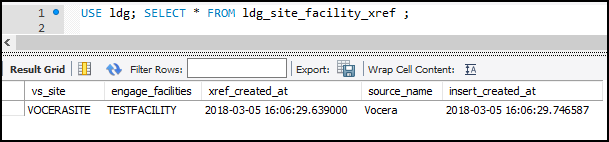
- Verify if site and facility are exported successfully from Landing schema—Query
the Landing database table ldg_site_facility_xref from Landing schema
to check if it is exported successfully.
- Verify if site and facility are exported successfully to Landing database—Query
the Landing database table ldg_department_unit_xref to verify that the
site and facility cross walk mapping was successfully exported to the Landing
database.

- Verify if data is processed successfully from Landing database—Run the
following query to check if the events flow successfully from Landing database to Vocera
Analytics database.
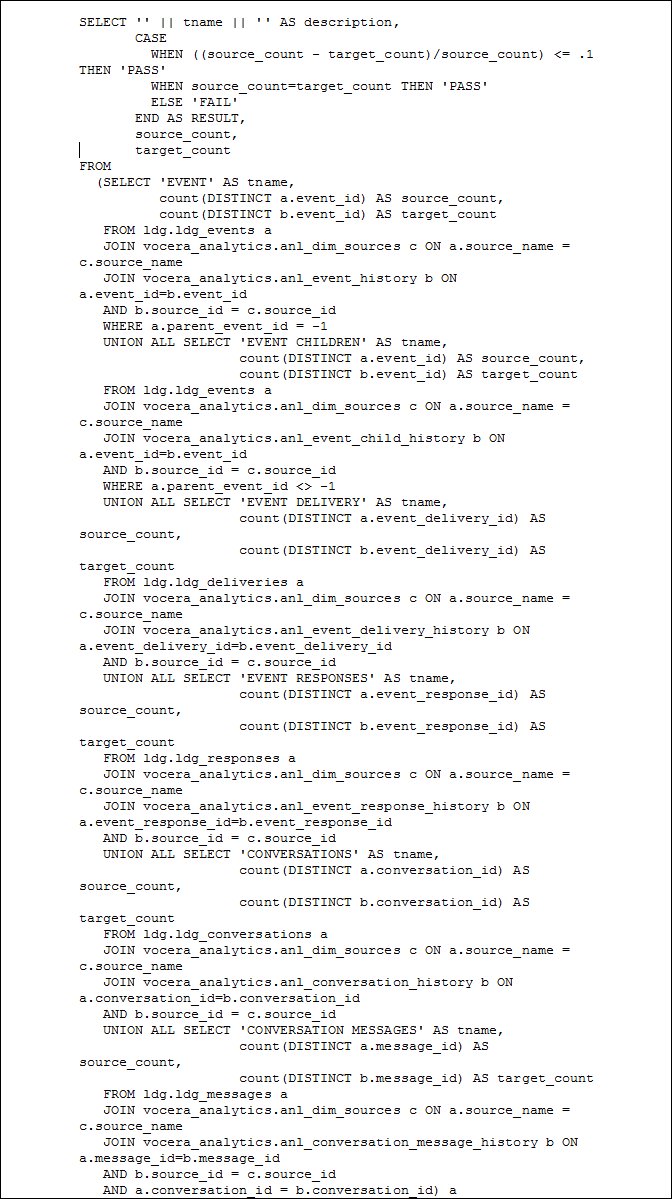
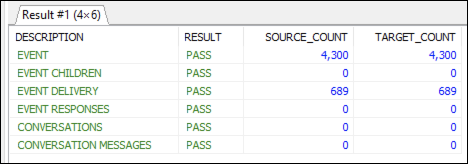
The following is the example of the query that you executed. Note that the Result column specifies PASS to indicate that data is processed successfully from Landing database to Vocera Analytics database.
- Verify if site and facility data are processed successfully through
Analytics—Query the analytics table cwfacility from the analytics
schema to verify that the site and facility cross walk mapping was successfully
processed through Analytics.

- Verify if department and unit data are processed successfully through
Analytics—Query the analytics table cwunit from the analytics
schema to verify that the department/unit cross walk mappings were successfully
processed through analytics.
