These settings enable direct communication between the Vocera Incoming Email Adapter and the Vocera Platform.
Select an empty field and begin typing, or select an existing value and type over it. To keep an existing value, do not edit that field.
-
Navigate to the New Adapter option, or navigate to an existing adapter to edit.
See Creating a New Adapter and Editing an Adapter for instruction as needed.
The configuration fields are the same for new and existing adapters.
-
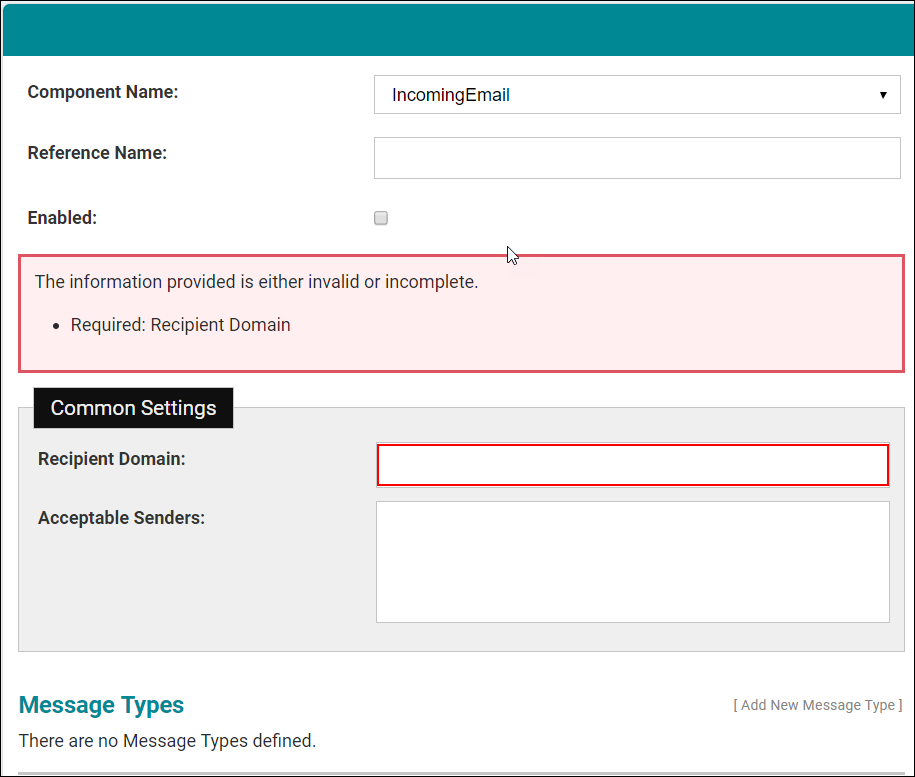
Complete the Common Settings configuration fields as
described in the table.
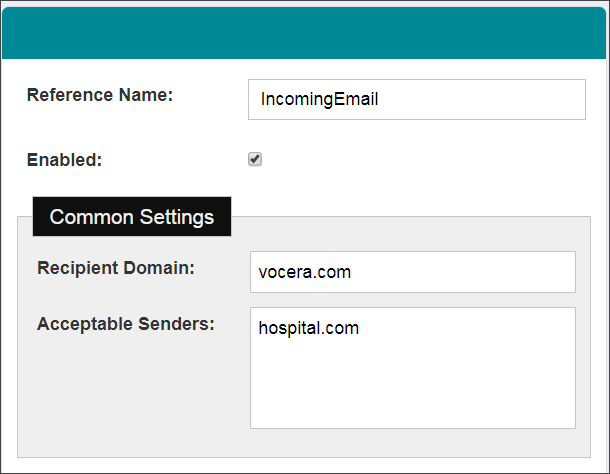
Common Settings Description Recipient Domain Enter the domain where the incoming emails will be received. Incoming emails are directed to this domain. This defined recipient domain is used for the incoming emails that apply to the Vocera Platform. See Configuring the Facility's Email to Integrate with Vocera for information about domain name. Acceptable Senders Enter the email addresses, one per line, of the devices from which the Vocera Platform will accept emails. Email from addresses not included in this list will be rejected.
The Vocera Platform will accept emails from any sender when this field is left blank.
All email addresses from a sender at a domain are accepted when a wildcard is used; follow the format *@domainname.com.
See Configuring the Facility's Email to Integrate with Vocera for information about configuring senders.Note: Only valid email addresses can be used.Message Types Select Add New Message Type under the Message Types heading to add a new message type. -
Complete the Message Types configuration fields as
described in the table.
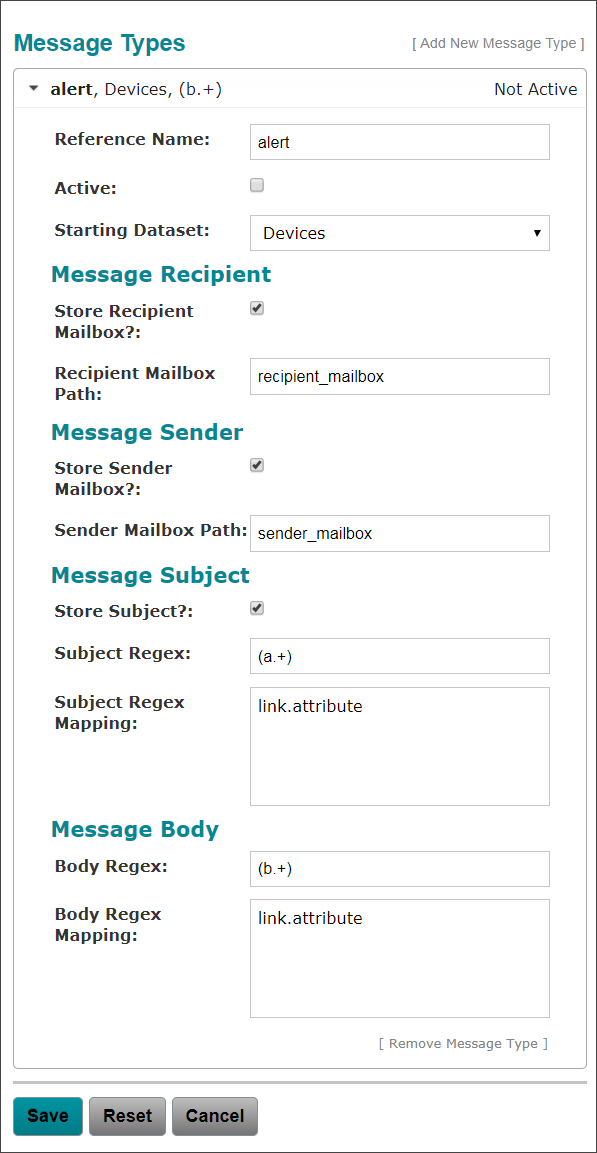
Message Types Description Reference Name Enter the name of the new message type in the Reference Name field. The Message Type header automatically updates to display the new reference name. Active Select the Active checkbox to activate this message type. The Message Type header automatically updates to display the Active status. Starting Dataset Select the Starting Datase from the drop-down menu. All data mappings used in this adapter configuration are relative to the selected Starting Dataset reference. The Message Type header automatically updates to display the starting dataset name. Message Recipient The Message Recipient information below describes where the recipient part of the received message is stored in the Vocera Platform, if selected. Store Recipient Mailbox Select the Store Recipient Mailbox checkbox if the recipient mailbox should be stored. Recipient Mailbox Path Specify the attribute expression that stores the recipient of the incoming message in this field. This entry is where the Vocera Platform acquires the data needed to send and receive messages. Message Sender The Message Sender information below describes where that part of the received message will be stored in the Vocera Platform, if selected. Store Sender Mailbox Select the Store Sender Mailbox checkbox if the sender's mailbox should be saved. Sender Mailbox Path Enter the attribute path that stores the sender of the incoming message in the Sender Mailbox Path field. The Vocera Platform receives messages from this attribute path. Message Subject The Message Subject information below describes where the subject part of the received message will be stored in the Vocera Platform, if selected. Store Subject Select the Store Subject checkbox if the subject of incoming emails should be saved. Subect Regex Specify a Regex string to parse the data of the incoming message into the value paths contained in the Subject Regex Mapping field, shown in the next section.
A Regex string which stores any alert regardless of data input to ensure that all alerts are recorded and stored is (.+).
Note: To prevent high CPU loads, each regular expression used in the appliance is limited to run for five seconds. If the regular expression's processing time exceeds this threshold, an audit event is generated and the regex fails to match results.See Understading Regular Expressions for an overview explanation and examples of Regex code and mappings.
Subject Regex Mapping Specify one or more attributes or attribute paths in the Subject Regex Mapping field. Enter only one attribute per line that corresponds to a segment in the Regex code.
The Regex string (.+) is only used with the alert_type mapping.
Message Body The Message Body information below describes where the body section of an incoming email will be stored in the Vocera Platform. Body Regex Specify a Regex string to parse the data of the incoming message into the value paths contained in the Body Regex Mapping field, shown in the next section.
A Regex string which stores any alert regardless of data input to ensure that all alerts are recorded and sent is (.+).
See Understading Regular Expressions for an overview explanation and examples of Regex code and mappings.
Body Regex Mapping Specify one or more attributes or attribute paths in the Body Regex Mapping field. Enter only one attribute per line that corresponds to a segment in the Regex code.
The Regex string (.+) is only used with the alert_type mapping.
Note: Repeat this process until all of the necessary Message Types are in place to handle any format or combination of data sent within a facility pertaining to patient location.