Configure a default name for custom tabs using the custom tab policy items.
A system administrator can configure a default name for custom tabs in the Vocera Vina app to
control the default name for the custom tabs.
-
Click Add items and select the "Vocera Vina uses the
default name for custom tab 2" security policy item.
-
Select a value for the "Vocera Vina uses the default name for custom
tab 2" security policy item from the drop down list.
You can select one of the following values:
- Ad-hoc conversations
- Archive
- My Patients
- Patients Linked conversations
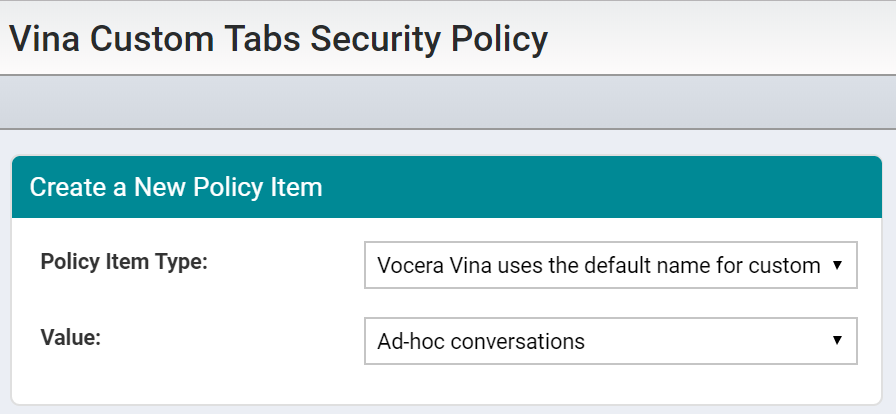
For example, in the following screenshot, Adhoc Conversations is selected as the value for the "Vocera Vina uses the default name for custom tab 2" policy item. This value will appear as a default tab name on the Vocera Vina app.
-
Select a value for the "Vocera Vina uses the default name for custom
tab 2" security policy item from the drop down list.
-
Select the custom tabs security policy that you created in Step 1 from the
Security Policy dropdown list.
For example, the following screenshot shows the Vina Custom Tabs security policy selected for the Vina Custom Role.

-
Click Add Role to associate the Vina Custom Role with
this group, and click Done to associate the selected
role.
