Install the remote agent to use the monitoring services on the Vocera Voice Server.
Ensure that you have installed the Vocera Voice Server
before you begin to install the remote agent.
To install the remote agent on the Vocera Voice Server, perform the following tasks:
Note: The Vocera Analytics Suite installs both the remote agent for Voice Server and
Vocera Analytics.
-
Right-click VoceraAnalyticsInstaller.exe> Run
as administrator to launch the installer.
The installer Welcome to the InstallShield Wizard for Vocera Analytics Suite 1.0.0 screen appears.

-
Select I accept the terms in the license agreement after
you have read the license agreement.
 Note: Click Print if you want to print the license agreement.
 -
Click Next.
The Ready to Install screen appears.
Note: The remote agent is installed on the same drive where the Voice Server is installed. The installer logs are stored in the following location: <Voice Server Install Drive>:\InstallLogs-Vocera\VoceraAnalytics\<version>.For example, if Vocera Analytics is installed on C drive, the installer logs are located at: C:\InstallLogs-Vocera\VoceraAnalytics\1.0.

-
Click Install.
The Installing Vocera Analytics Suite 1.0.0 window appears. Do not close any installer windows that appear during installation.

-
Click Finish.
The InstallShield Wizard Completed screen appears.
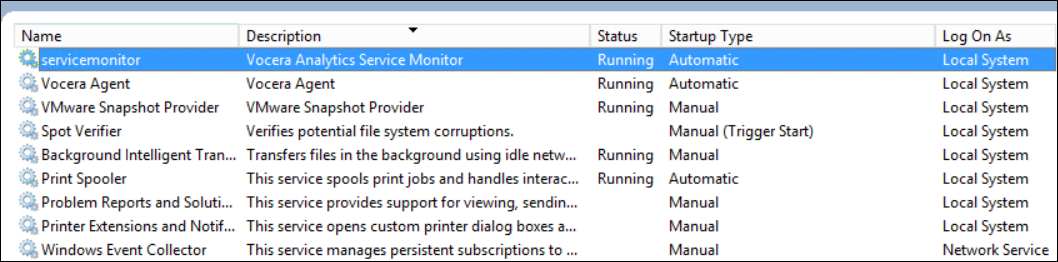
 To validate that the remote agent is installed successfully and to check if the service monitor is installed and running, use the services.msc. The slave service monitor installed here is used to interact with the master service monitor.
The following screenshot displays the slave service monitor running on the Voice Server.
 Note: If data migration is not part of the implementation, then perform loading dimension from the active Voice Server.